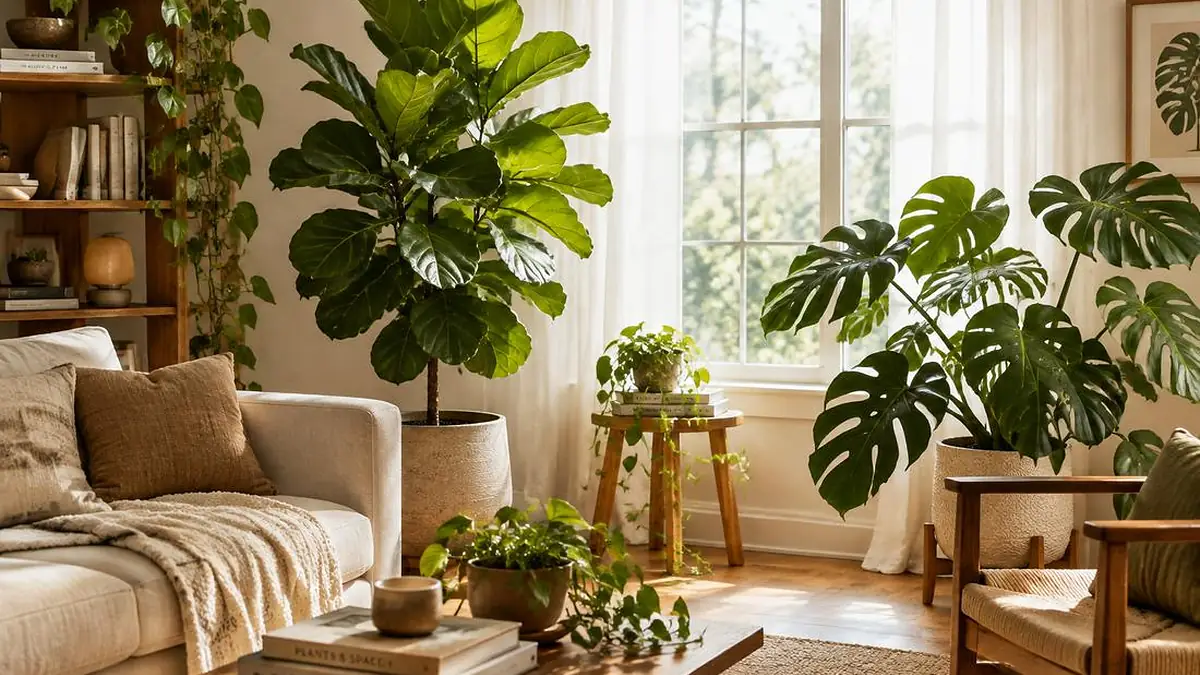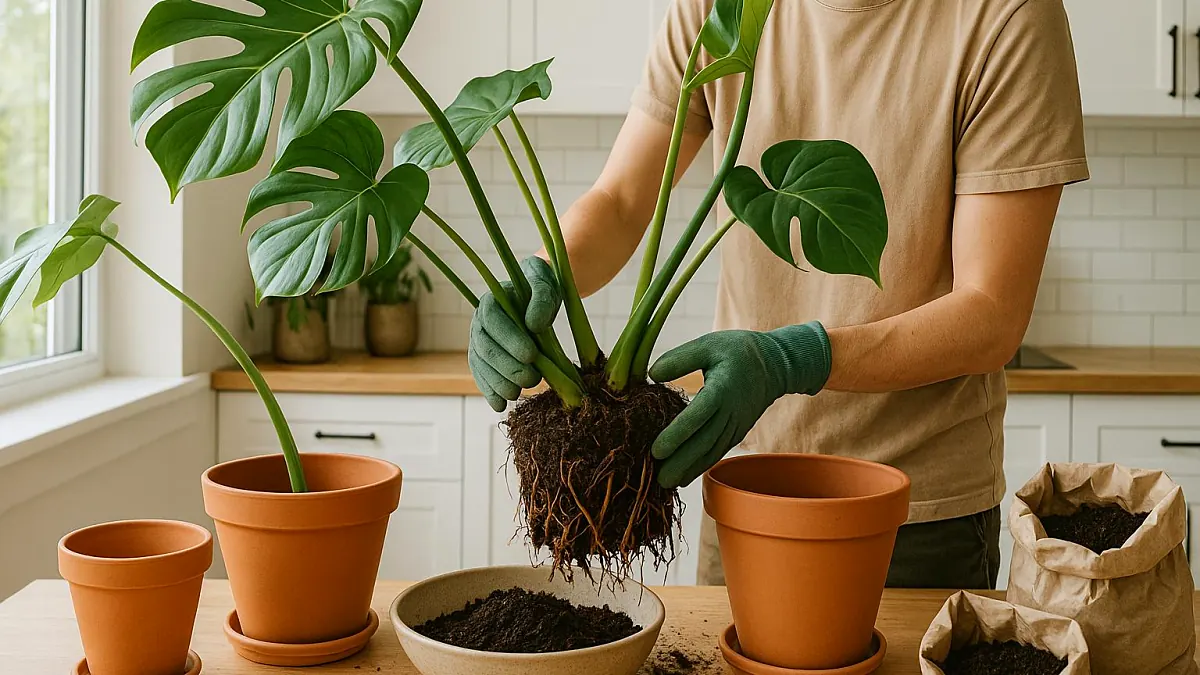
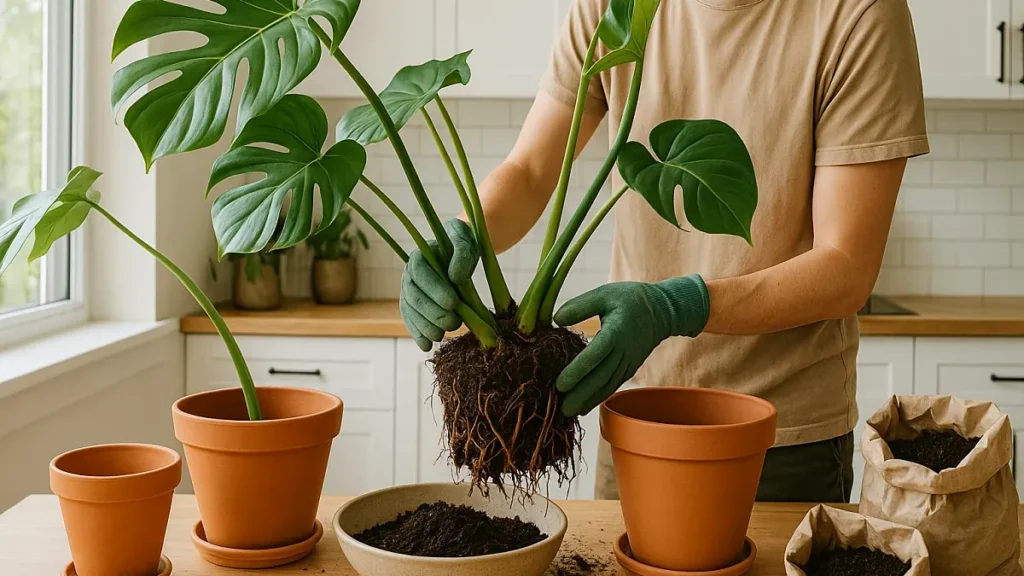
Repotting houseplants is usually easier than it sounds. The trick is knowing when your plant actually needs a new home. If roots are circling the bottom of the pot, water runs through too quickly, or growth has slowed, it may be time for a change. For most houseplants, spring is the best time to repot, and the new pot should usually be only 1–2 inches wider than the old one.
You don’t need fancy tools or a complicated routine. A little preparation, the right pot, and a gentle touch can make the whole process much less stressful for both you and your plant.
Key Takeaways
- Check the roots before deciding to repot. A crowded root ball is a stronger sign than the calendar.
- Spring is generally the best time because plants are beginning to grow again.
- Choose a pot only 1–2 inches wider than the current one.
- Always use a pot with drainage holes.
- Remove dead or mushy roots, but avoid cutting healthy roots unnecessarily.
- Give your plant time to settle before returning to its normal care routine.
- Hold off on fertilizer for a short period after repotting, especially when using fresh potting mix.
AI Overview: When and how should you repot a houseplant?
Repot a houseplant when its roots become crowded, grow through drainage holes, or form a tight circle around the root ball. Spring is usually the best season. Choose a pot 1–2 inches wider than the current one, use fresh potting mix, loosen the roots gently, and water after repotting. Keep the plant in bright, indirect light while it adjusts.
Six signs your houseplant needs repotting
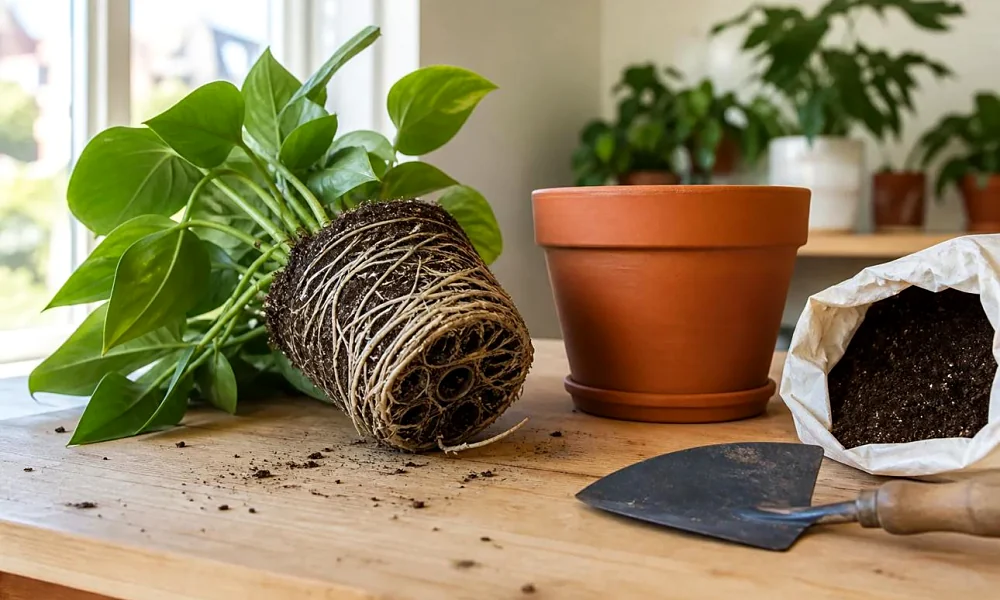
Plants don’t follow a strict repotting calendar. One may fill its pot in a year, while another can stay comfortable in the same container for several years. That’s why checking the plant itself is more useful than repotting simply because a certain amount of time has passed.
Here are six signs worth looking for.
1. Roots are growing out of the drainage holes
This is one of the clearest clues. If you notice roots poking out from the bottom of the pot, the plant may be running out of room.
It doesn’t always mean you need to repot that very day, but it’s a good reason to take a closer look at the root ball.
2. Roots are circling around the bottom
If you gently slide the plant out of its pot and see a thick tangle of roots circling the outside, the plant is likely rootbound.
A few visible roots are normal. What you’re looking for is a dense mass that leaves very little room for potting mix.
3. The soil dries out unusually quickly
Do you water your plant, only to find the soil dry again a day or two later? A crowded root system may be taking up much of the space that should hold potting mix and moisture.
Of course, warm rooms, direct sunlight, and the season can also affect how quickly soil dries. Check the roots before assuming the pot is the problem.
4. Your plant keeps tipping over
A plant that has become top-heavy may need a larger, more stable container. This is especially noticeable when the soil is dry and the pot no longer feels balanced.
Don’t jump straight to a much bigger pot, though. A small increase in size is usually enough.
5. New growth has slowed down
If your plant usually produces fresh leaves but has become unusually quiet during its growing season, crowded roots could be one possible reason.
Before repotting, check other factors too, including light, watering, temperature, and pests. Slow growth doesn’t always mean the pot is too small.
6. A white crust appears on the soil
A pale, salty-looking layer on the soil surface or around the pot can come from mineral buildup left behind by water or fertilizer.
This doesn’t automatically mean the plant needs a bigger pot. It may simply need fresh potting mix or a change in watering habits. Check the roots to make the right decision.
A useful rule: One warning sign is a reason to inspect the plant. Several signs together make repotting more likely to help. When in doubt, gently check the root ball rather than relying on appearances alone.
When is the best time to repot houseplants?
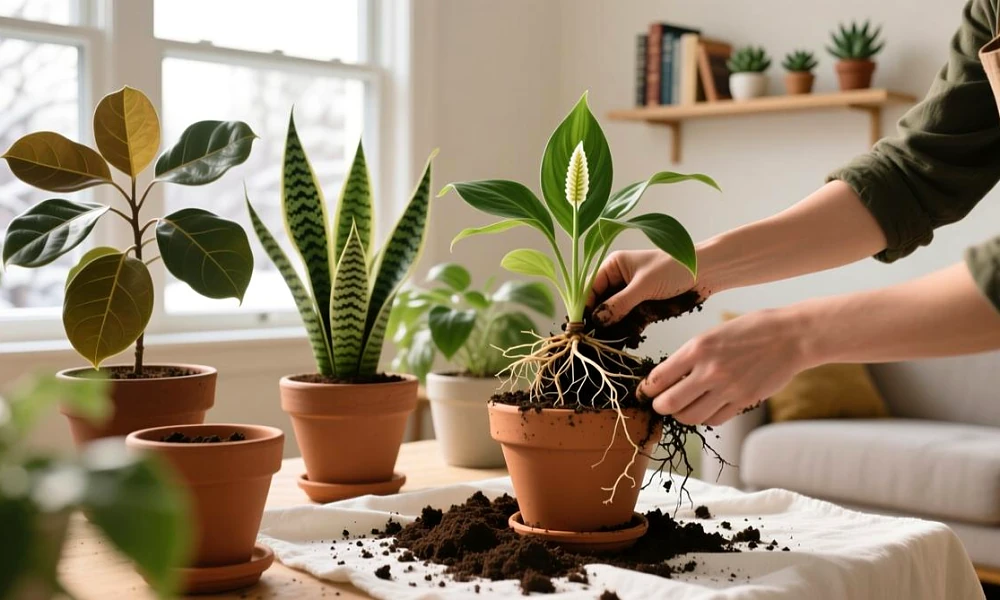
For most houseplants, spring is a good time to repot. As daylight increases and temperatures become warmer, many plants begin putting out new growth. That gives them a better chance to settle into fresh potting mix and develop new roots.
You don’t need to repot every spring, however. Some plants need a new pot every year or two, while slower-growing houseplants may be happy in the same container for three to five years.
There are two situations when waiting for spring isn’t necessary:
- Root rot or serious soil problems: If the roots are rotting or the potting mix has become badly waterlogged, deal with the problem as soon as possible.
- A broken pot: If the container has cracked or broken and the root ball is exposed or unstable, move the plant into a suitable replacement.
If your plant is flowering and otherwise healthy, it’s usually kinder to wait until the blooms have faded before repotting. An emergency involving damaged roots or a broken container is the exception.
For more detail on timing and technique, see the RHS repotting guide.
What you need before repotting
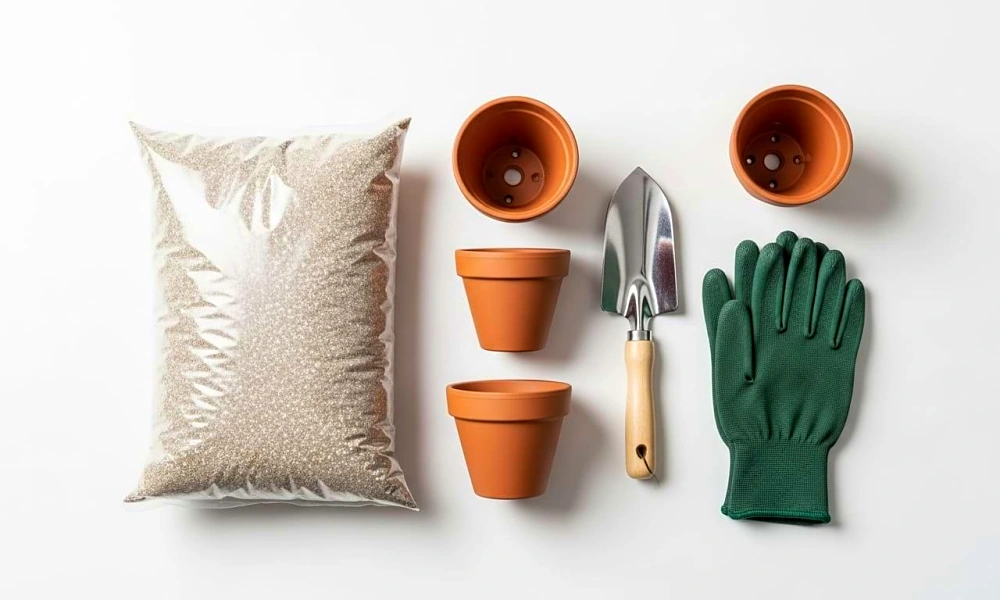
A little preparation makes the job much easier. Gather everything before taking the plant out of its pot, so the roots aren’t left exposed while you search for supplies.
You’ll need:
- A clean pot with drainage holes, around 1–2 inches wider than the current one.
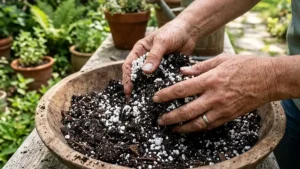
- Fresh potting mix suited to your plant.
- A small piece of mesh to cover a large drainage opening, if needed.
- Clean scissors or pruning snips for removing dead roots.
- A small trowel or spoon.
- Gloves and newspaper or a washable surface to catch loose soil.
- A watering can.
Choose the pot carefully. It’s tempting to give your plant lots of extra room, but a container that’s much too large can hold more moisture than the roots can use. That leaves the soil wet for longer and can increase the risk of root problems.
A slightly larger pot is usually the safer choice. Some plants, including snake plants, also tolerate being a little snug in their containers.
If you’re unsure which growing medium to use, this guide to indoor plant soil can help you understand the basics.
How to repot a houseplant, step by step
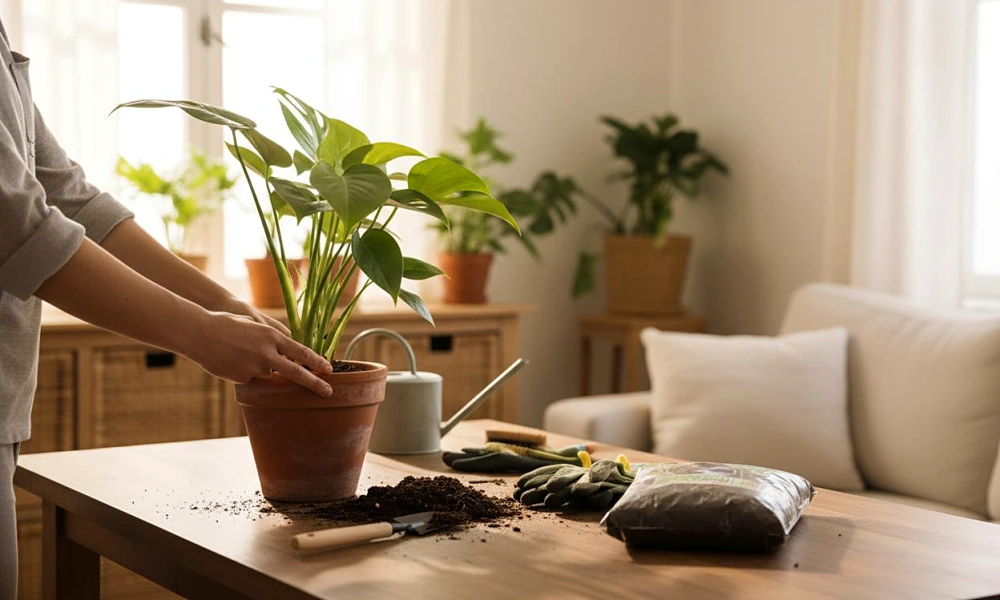
Once everything is ready, take your time. The goal isn’t to pull the plant apart or remove every bit of old soil. It’s simply to give the roots enough fresh space to grow.
Step 1: Water the plant beforehand
Water the plant the day before repotting, unless the soil is already wet. Slightly moist soil holds together better than completely dry mix, making it easier to remove the root ball without damaging it.
You want the soil moist, not soaked.
Step 2: Remove the plant gently
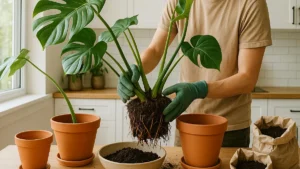
Hold the plant near the base, support the root ball, and carefully tip the pot sideways.
If it’s in a flexible nursery pot, gently squeeze the sides to loosen the soil. Avoid pulling hard on the stems. If the plant won’t come out, work around the inside edge of the pot rather than forcing it.
Step 3: Check the roots
Take a moment to look at what is happening beneath the soil.
Healthy roots are generally firm. Dead or rotting roots may look dark, feel mushy, or smell unpleasant. Use clean scissors to remove roots that are clearly damaged.
If the roots are tightly circling the outside, gently tease a few loose with your fingers. Don’t aggressively untangle the entire root ball. Healthy roots need to be disturbed as little as possible.
Step 4: Prepare the new pot
Cover a large drainage hole with a small piece of mesh if needed. This helps keep potting mix from falling out while still allowing excess water to escape.
Add enough fresh mix to the bottom so the plant will sit at roughly the same depth as before. Avoid burying the stem or covering the base of the plant with extra soil.
Step 5: Position the plant and add fresh mix
Place the plant in the centre of the new pot. Fill the gaps around the root ball with fresh potting mix, adding a little at a time.
Tap the sides of the pot gently to help the mix settle. There’s no need to press down hard. Compacted soil can reduce the air spaces that roots need.
Step 6: Water thoroughly
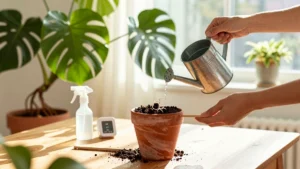
Water slowly until you see excess water coming out through the drainage holes. This helps settle the new potting mix around the roots.
Let the pot drain properly, and empty the saucer after about ten minutes. Don’t leave the plant sitting in collected water.
Step 7: Give your plant time to settle
Place the newly repotted plant somewhere with bright, indirect light. Avoid moving it straight into harsh direct sunlight or changing several other parts of its care routine at once.
A little drooping after repotting can happen. The plant has been disturbed, and it may need a little time to adjust.
How to care for a plant after repotting
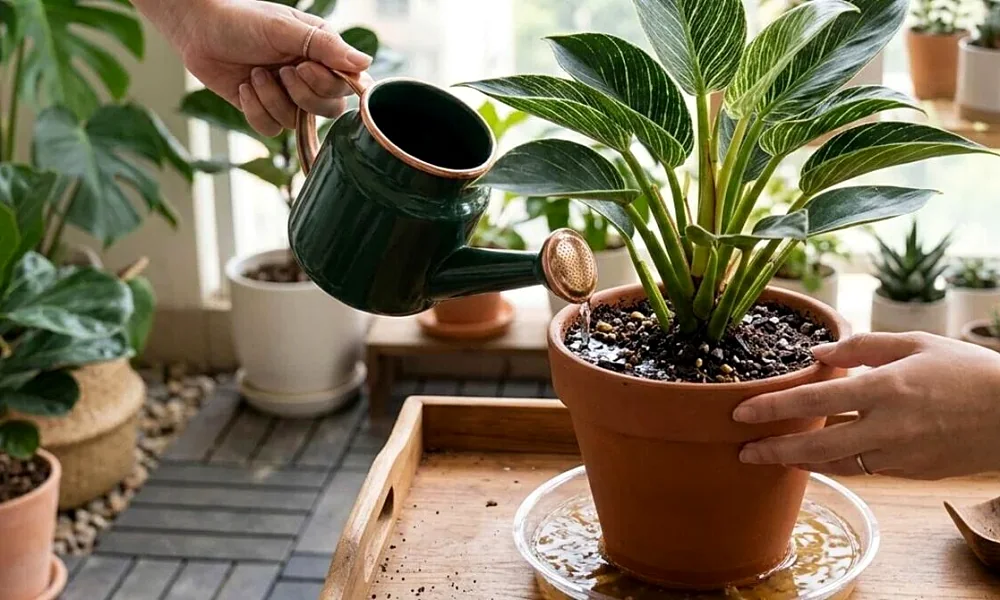
The first few weeks are about giving your plant a calm environment while its roots settle into the new mix.
Be careful with watering. A plant with some disturbed roots may not take up water as quickly as it did before. Check the soil before watering again instead of following your usual schedule automatically. The top of the mix may dry while the lower part is still damp.
Keep the light gentle. Bright, indirect light is generally a good choice while the plant adjusts. Strong direct sunlight can add stress, particularly if the leaves are already drooping.
Wait before feeding. Fresh potting mix often contains some nutrients, so adding fertilizer immediately may be unnecessary. A cautious approach is to wait around two to four weeks before feeding, then follow the fertilizer label and your plant’s needs. The exact timing depends on the mix and its nutrient content.
Watch how the plant responds. A little temporary drooping isn’t always a problem. But if the leaves keep getting worse, the soil stays wet for too long, or the plant develops a sour smell, check the moisture and roots rather than adding more water.
If you’re repotting a peace lily, you can also read our guide to repotting peace lilies.
Frequently asked questions
1. Should I repot a houseplant as soon as I buy it?
Usually, no. A newly purchased plant is already adjusting to a new home, different light, and a different environment. Give it a week or two to settle before repotting, unless there’s a clear problem.
If the soil is badly waterlogged, the plant has signs of root rot, or the nursery pot is damaged, repotting sooner may be necessary.
2. How often should houseplants be repotted?
It depends on the plant’s growth rate and root system. Fast-growing plants may need a larger pot every one to three years, while slower-growing plants can often stay in the same pot for three to five years.
Check the roots periodically rather than repotting on a fixed schedule.
3. Should I water a plant immediately after repotting?
In most cases, yes. Watering after repotting helps settle the fresh mix around the roots and removes large air gaps. Let the excess water drain away, and empty the saucer.
If the mix is already very wet or the plant has a specific care requirement, adjust accordingly.
4. Can I repot a houseplant in winter?
You can, but it’s generally better to wait until spring if the plant is healthy. Many houseplants grow more slowly during winter, so they may take longer to recover.
If the plant has root rot, a broken pot, or another urgent problem, don’t delay necessary repotting just because it’s winter.
5. How much bigger should the new pot be?
For most houseplants, choose a pot around 1–2 inches wider than the current one. A small increase gives the roots room to grow without surrounding them with too much wet soil.
Very large jumps in pot size are rarely helpful.
6. Can I reuse old potting mix?
It’s usually better to use fresh potting mix when repotting. Old mix can become compacted and lose some of its useful structure. It may also contain pests or disease problems if the previous plant was unhealthy.
If the old plant had root rot or a pest infestation, don’t reuse that mix for another houseplant.
7. Should I remove all the old soil from the roots?
No. You generally don’t need to wash or strip every bit of soil from healthy roots. Remove loose or obviously poor-quality mix, and gently loosen compacted areas if necessary.
A complete soil removal can disturb delicate roots. Reserve more extensive cleaning for situations where there is a specific problem that needs attention.
8. Why is my plant drooping after repotting?
Some temporary drooping can happen because the roots have been disturbed. Check that the plant is sitting at the right depth, the soil isn’t waterlogged, and the pot has working drainage holes.
Keep it in bright, indirect light and give it time. If the drooping continues or gets worse, inspect the soil moisture and roots for signs of a problem.
Final thoughts
Repotting doesn’t have to be a big production. Watch the roots, choose a pot that’s only a little larger, and handle the plant gently. Those simple choices make a real difference.
And remember: a plant doesn’t need a new pot just because it’s been a year. If the roots still have room, the soil drains well, and new growth looks healthy, leaving it where it is may be the kindest thing you can do.