A plant can look perfectly happy one week and start leaning out of its pot the next. Maybe you notice roots coming through the drainage holes, water running straight through the soil, or a plant that tips over whenever you touch it. You start wondering whether it needs a bigger pot.
That is usually when people make their first mistake: choosing a pot that is much too large.
Repotting is not difficult, but the size of the new pot, the type of potting mix, and the way you handle the roots all matter. Too much wet soil around a small root system can cause trouble, while pulling a plant out by its stem can damage it before you even begin.
This guide explains how to repot a plant step by step, how to tell when it actually needs repotting, and what to do afterward. You will also learn when it is better to leave a plant alone.
How to Repot a Plant: Quick Answer
Most houseplants need repotting when their roots fill the current pot, the potting mix breaks down, or water no longer moves through the soil properly. Spring is usually a good time because many plants are starting active growth.
Choose a pot with drainage holes that is about 1–2 inches wider than the old one. Use fresh potting mix suited to your plant, gently loosen the roots, and keep the plant at its original soil depth. Water thoroughly after repotting and let the excess water drain away.
Key Takeaways
- Check before repotting. Roots coming out of drainage holes, a tightly packed root ball, and soil that dries unusually fast can all signal that your plant needs more room.
- Spring is usually best. Repot most houseplants as active growth begins, but consider the plant’s natural growing season.
- Choose a pot only one size larger. A much bigger pot can hold extra moisture for too long.
- Use the right mix. A regular houseplant mix works for many plants, but succulents, orchids, and some aroids need a more suitable blend.
- Handle roots gently. Remove dead or rotten roots, but do not cut healthy roots just to make them fit.
- Give the plant time to settle. Water it properly, provide suitable light, and wait before adding fertilizer.
How to Repot a Plant Step by Step
- Check the plant. Look for crowded roots, fast-drying soil, or other signs that repotting is needed.
- Prepare the new pot. Choose one with drainage holes, about 1–2 inches wider than the current pot.
- Prepare the potting mix. Use a fresh mix that suits the plant. Lightly moisten it if it is very dry.
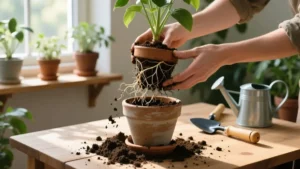
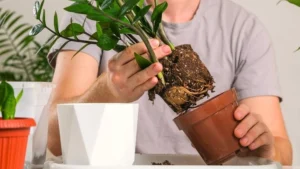
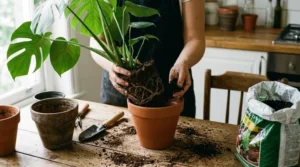
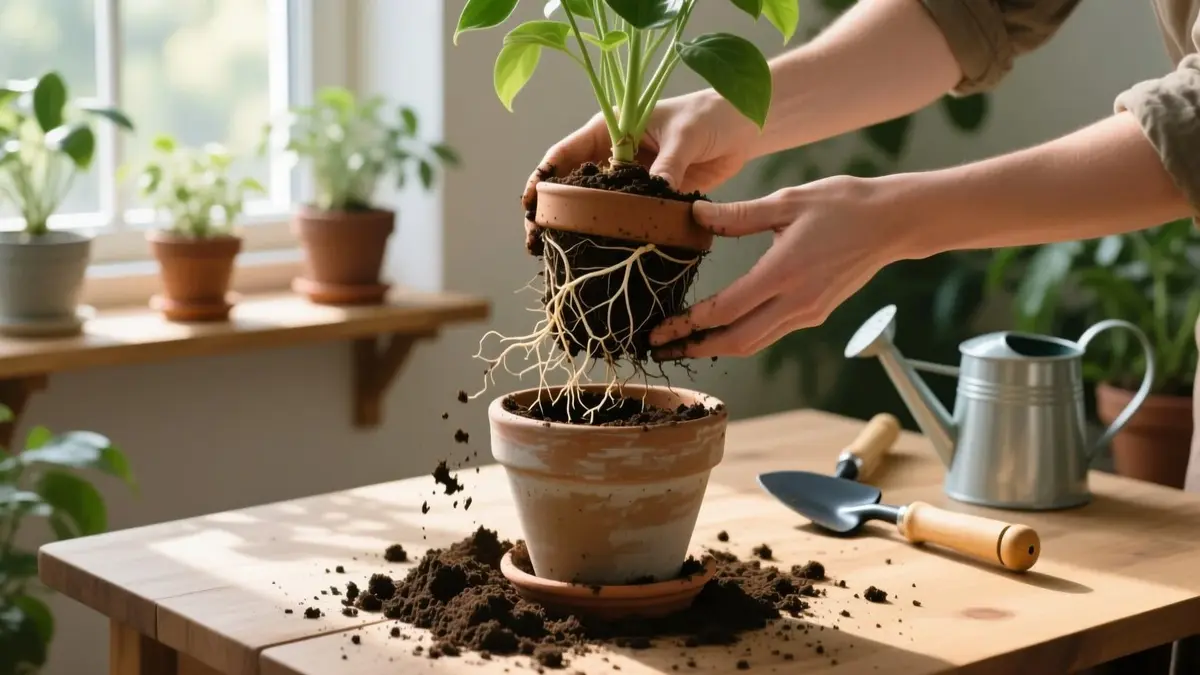
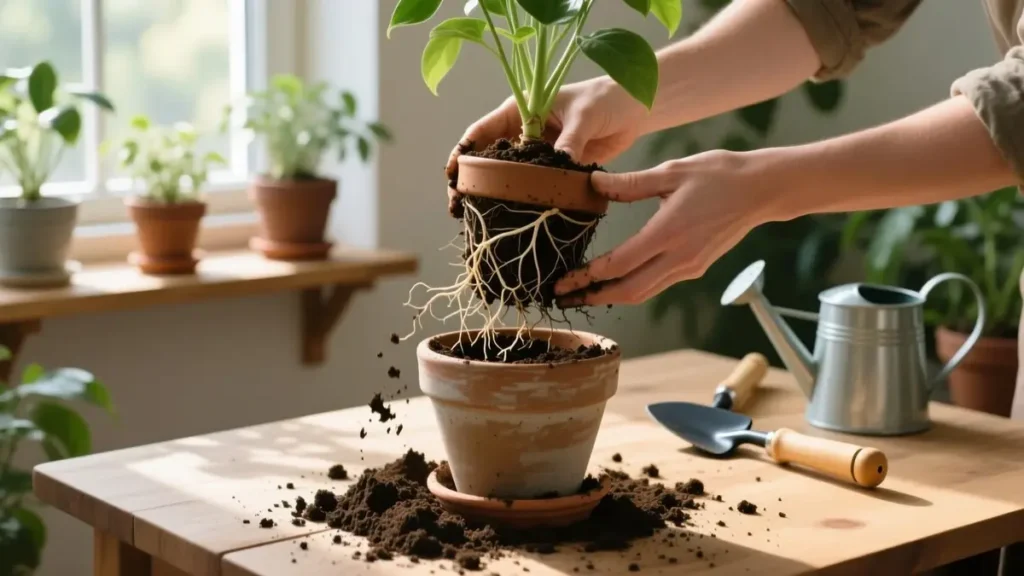
- Remove the plant. Squeeze a plastic pot or tap the sides of the container. Support the root ball instead of pulling hard on the stem.
- Check the roots. Gently loosen tightly circling roots and trim only dead, damaged, or rotten sections with clean scissors.
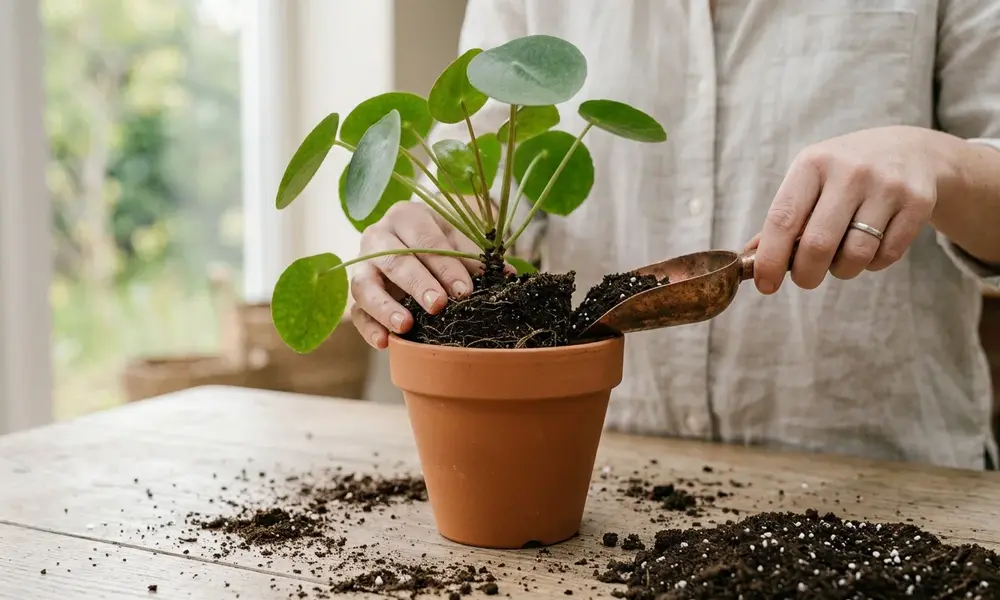
- Set the plant in the new pot. Add a little mix underneath so the top of the root ball sits just below the rim. Keep the plant at its original depth.
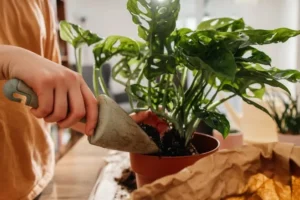
- Fill the gaps. Add fresh mix around the sides and gently settle it. Do not press it into a hard, dense mass.
- Water and let it drain. Water thoroughly when appropriate for the plant, empty the saucer, and return the plant to a suitable place.
The job is not to remove every bit of old soil or make the roots look perfect. The goal is to give them enough space, fresh growing mix, and good drainage without causing unnecessary damage.
Signs Your Plant Needs Repotting
Not every plant needs a new pot every year. Some grow quickly and fill their containers in months, while others can stay in the same pot for several years. The Illinois Extension notes that repotting needs vary, and some plants even thrive when slightly root-bound.
Look for these signs before deciding what to do. When roots grow in tight circles around the root ball, the plant may be root-bound. However, a few roots showing through the drainage holes do not always mean it needs a bigger pot.
1. Roots are coming out of the drainage holes
A few roots at the bottom do not always mean an emergency. But if you see a thick group of roots growing through the holes, the plant may be running out of room.
Slide the plant out carefully and check the root ball. If it is packed with roots and has very little loose mix left, a slightly larger pot may help.
2. The soil dries out much faster than before
Do you water your plant, only to find the soil dry again much sooner than usual? A crowded root system may be taking up most of the space, leaving little potting mix to hold moisture.
Still, check other possible causes. Hot weather, stronger light, a heater, or a change in watering habits can also make soil dry faster.
3. The plant comes out like a solid plug
When you gently remove the plant, the root ball may hold the shape of the old pot. If roots form a thick mat around the sides and bottom, there may be little room left for new growth.
This is a stronger sign than seeing one or two roots through a drainage hole.
4. Growth has slowed
A plant that has stopped growing may need more space, but slow growth alone is not proof. Poor light, cold temperatures, pests, and the natural winter rest period can all slow growth.
Check the plant’s light, watering, and general condition before blaming the pot.
5. The plant keeps tipping over
A tall plant with a small, crowded root ball may become top-heavy. A wider, stable pot can help, but avoid jumping to an oversized container. You may only need a slightly larger pot with a broader base.
6. The potting mix has broken down
Old potting mix can become compacted, drain poorly, or stay wet longer than it used to. Sometimes the problem is the mix rather than the pot size.
If the roots still have enough room, you may be able to refresh some of the old mix instead of moving the plant into a much larger container.
Quick test: If you see several signs together, especially a tightly packed root ball, fast-drying mix, and roots circling the bottom repotting is more likely to help. If the plant is healthy and the roots are not crowded, leave it alone for now. For more help identifying a crowded root system, check out our detailed root-bound plants guide.
When Is the Best Time to Repot a Plant?
For most common houseplants, spring or early summer is a good time to repot. Longer days and active growth help many plants settle into fresh potting mix and grow new roots.
Penn State Extension and Illinois Extension both describe spring as a suitable time for repotting many houseplants. But the right time also depends on the plant and the reason for repotting.
Spring and early summer
This is usually the easiest time for routine repotting. Many plants are beginning to grow again after the slower winter months, so they have time to adjust before growth slows later in the year.
Do not repot simply because spring has arrived. If your plant has plenty of room and the mix drains well, there may be no need.
Can you repot a plant in winter?
Yes, when there is a good reason. For example, a plant in badly rotted soil may need attention even in winter. A broken pot may also leave you with little choice.
However, routine repotting is often better delayed if the plant is resting, growing very slowly, and not showing signs of trouble. Lower light and slower growth can make recovery less predictable.
Should you repot a flowering plant?
If possible, wait until flowering has finished. Repotting can disturb the roots and add stress while the plant is using energy to produce flowers.
There are exceptions. If the roots are rotting, the pot is broken, or the plant is in a serious drainage problem, fixing that issue may matter more than protecting the flowers.
What about a plant you just bought?
A new plant usually does not need an immediate pot change just because it came in a nursery pot. Give it time to adjust to your home and check its condition first.
Repot sooner if the pot is damaged, the mix is badly waterlogged, drainage is poor, or the plant is clearly root-bound. Otherwise, avoid changing everything at once. A new room, different light, and a new pot can be a lot of change for one plant.
What You Need to Repot a Plant
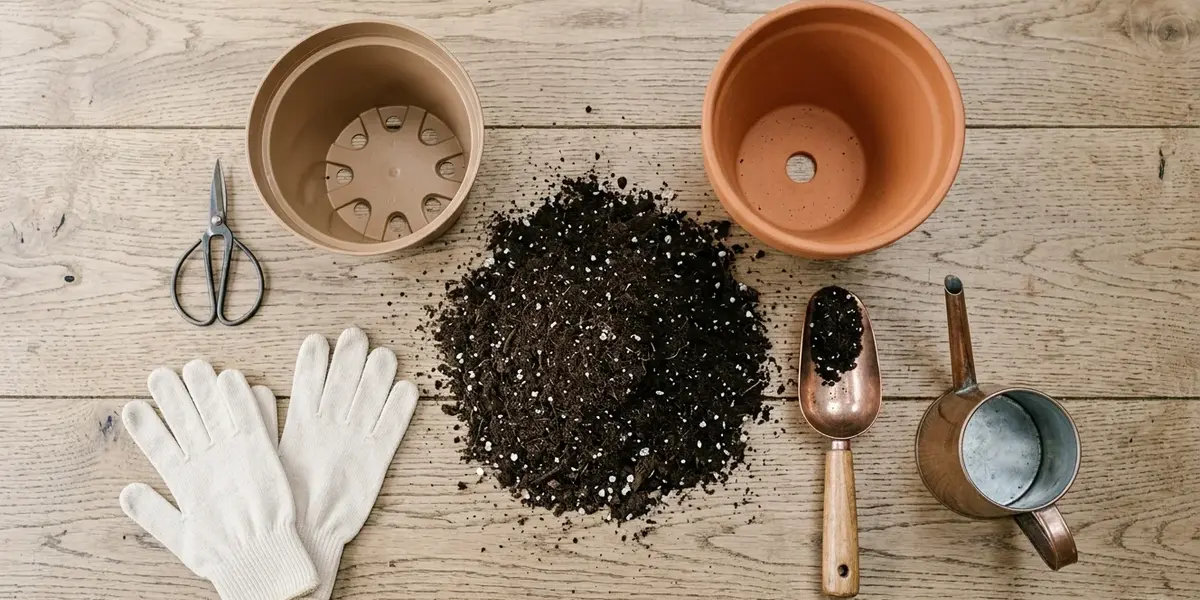
You do not need expensive gardening equipment. A few basic items will do the job.
| Tool or supply | Why you need it | Budget option |
|---|---|---|
| New pot | Gives roots room to grow | A clean plastic nursery pot with drainage holes |
| Fresh potting mix | Provides air, moisture, and support | A suitable basic indoor mix |
| Scissors or pruning snips | Removes dead or rotten roots | Clean household scissors for small roots |
| Small scoop | Adds mix around the root ball | A clean plastic cup |
| Gloves | Keeps hands clean and may protect sensitive skin | Reusable household gloves |
| Tray, old towel, or newspaper | Catches loose mix and water | Newspaper or a washable cloth |
| Watering can or cup | Waters the plant after repotting | A clean jug |
| Small brush and soap | Cleans a reused pot | An old cleaning brush |
Keep it simple: If you are repotting one small houseplant, you can often use a clean pot, fresh mix, scissors, and something to catch the mess. You do not need to buy a complete gardening kit.
If you reuse a pot, remove old soil and roots, wash it thoroughly, and rinse it well. Do not reuse a pot that may carry a serious plant disease without proper cleaning and disinfection.
How to Choose the Right Pot Size and Type
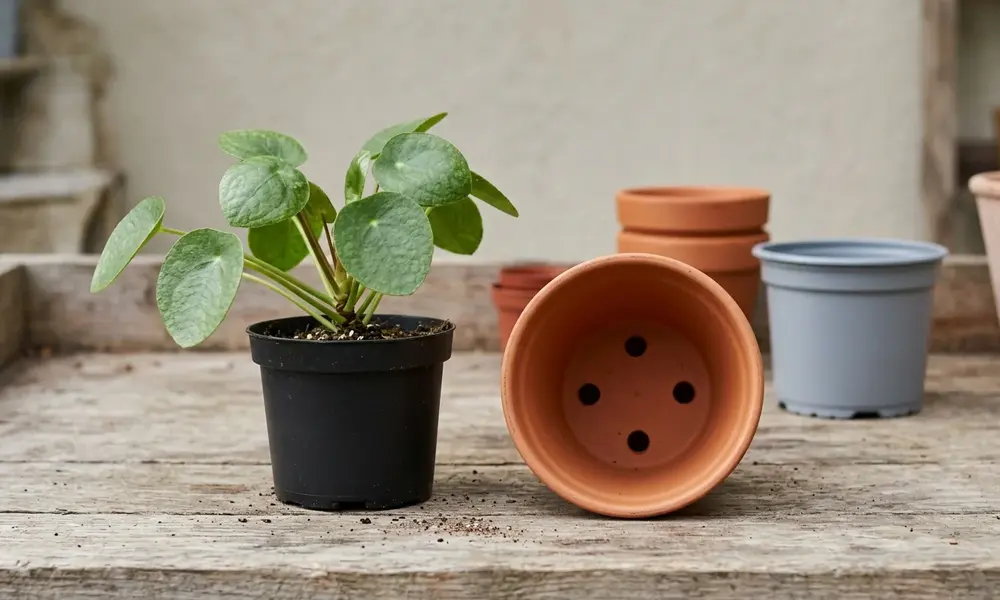
The right pot gives the roots room without leaving a large amount of unused, wet soil around them.
How much bigger should the new pot be?
For many houseplants, choose a pot about 1–2 inches wider in diameter than the current one. That is roughly 2.5–5 centimetres.
For example, if your plant is growing in a pot that measures 6 inches across, a pot around 7–8 inches across may be suitable. The root ball still matters, so treat this as a guide rather than a strict rule.
Avoid moving a small plant from a 6-inch pot into a 12-inch pot just to save time. The extra potting mix can hold moisture that the small root system cannot use quickly. That can leave the roots sitting in wet conditions for too long.
Why drainage holes matter
Choose a pot with holes at the bottom so extra water can escape. Without drainage, water may collect around the roots and increase the risk of root rot.
A layer of gravel at the bottom does not fix a pot with no drainage holes. It can leave a wetter zone above the gravel instead of helping water escape.
If you love a decorative pot without holes, use it as an outer cover. Plant your houseplant in a smaller nursery pot with drainage holes, then place that pot inside the decorative one. Take the inner pot out for watering and empty any water left in the outer container.
Terracotta vs plastic vs glazed ceramic
| Pot type | What it does well | What to watch for |
|---|---|---|
| Terracotta | Porous clay lets moisture escape through the sides; useful for plants that prefer faster drying | Soil may dry quickly, so it can need more frequent watering |
| Plastic | Lightweight, inexpensive, and holds moisture longer | Soil can stay wet for longer than in terracotta |
| Glazed ceramic | Heavy and stable, with many colors and designs | The glazed sides do not dry out like porous terracotta; drainage holes are still essential |
Iowa State University Extension explains that terracotta tends to dry faster than plastic or glazed ceramic. None of these materials is automatically best for every plant.
Choose based on your watering habits and the plant’s needs. If you often overwater a succulent, terracotta may help the mix dry faster. If you have a moisture-loving plant and your home is warm and dry, plastic may be easier to manage.
Best Potting Mix for Repotting
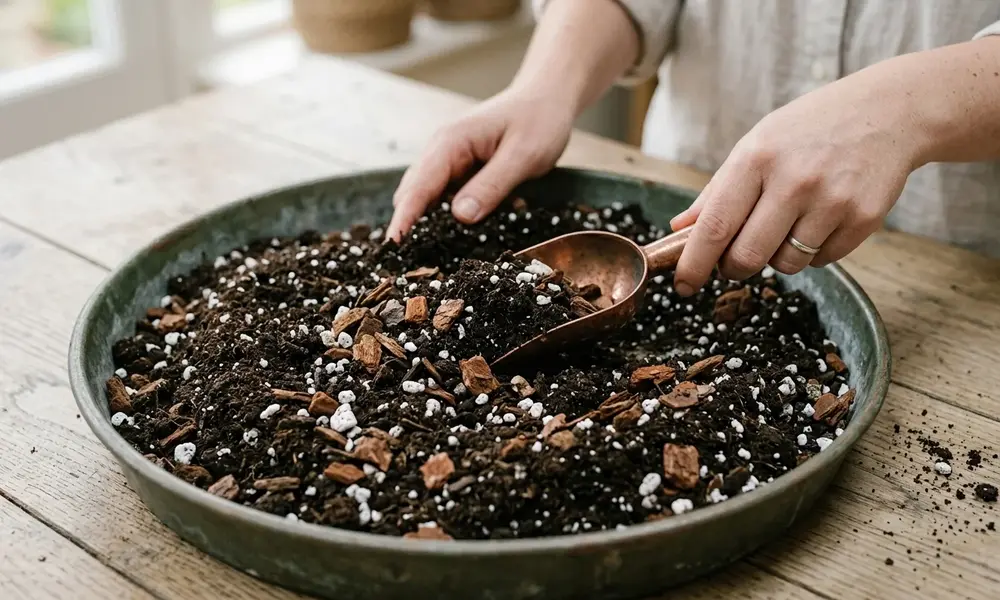
Potting mix is not just something to hold the plant upright. It needs to balance water and air around the roots.
For most indoor plants, a good-quality houseplant mix is a practical starting point. Avoid taking ordinary garden soil straight into an indoor pot. It can become too dense and may bring pests or disease into the container.
Different plants need different mixes.
A standard mix for common houseplants
A general indoor potting mix works for many plants, including pothos and some other easy-care houseplants. If the mix feels very dense or stays wet for too long, a suitable amount of perlite may help create more air space.
Do not add extra material automatically. Start with a mix that suits the plant and the conditions in your home.
Aroids such as monstera and philodendron
Many aroids grow well in a loose mix that holds some moisture but also lets air reach the roots. A houseplant mix amended with perlite and some bark can work, depending on the plant and the conditions.
The aim is not to make the soil dry instantly. It is to avoid a heavy, soggy mix that stays wet around the roots.
Succulents and cacti
Succulents generally need a mix that drains quickly. Use a cactus or succulent mix, or choose a suitable blend that contains gritty, free-draining material. Pairing these with the right indoor container setup prevents excess moisture from trapping around the root base.
A regular houseplant mix can hold too much water for some succulents, particularly in a cool room or a pot that dries slowly. Terracotta can help, but it cannot make an unsuitable mix safe by itself.
Orchids
Many common house orchids, including moth orchids, grow in chunky orchid media rather than ordinary potting soil. Bark-based mixes allow air to move around their roots.
Do not bury orchid roots in dense indoor potting mix. Check the needs of your particular orchid because not every orchid grows in the same conditions.
Anthuriums and other tropical plants
Many anthuriums prefer an airy mix that can hold some moisture without becoming waterlogged. Depending on the species, a mix containing bark, perlite, and a suitable base may work better than heavy soil.
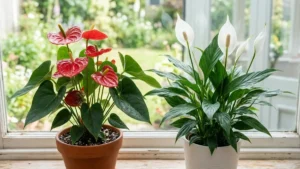
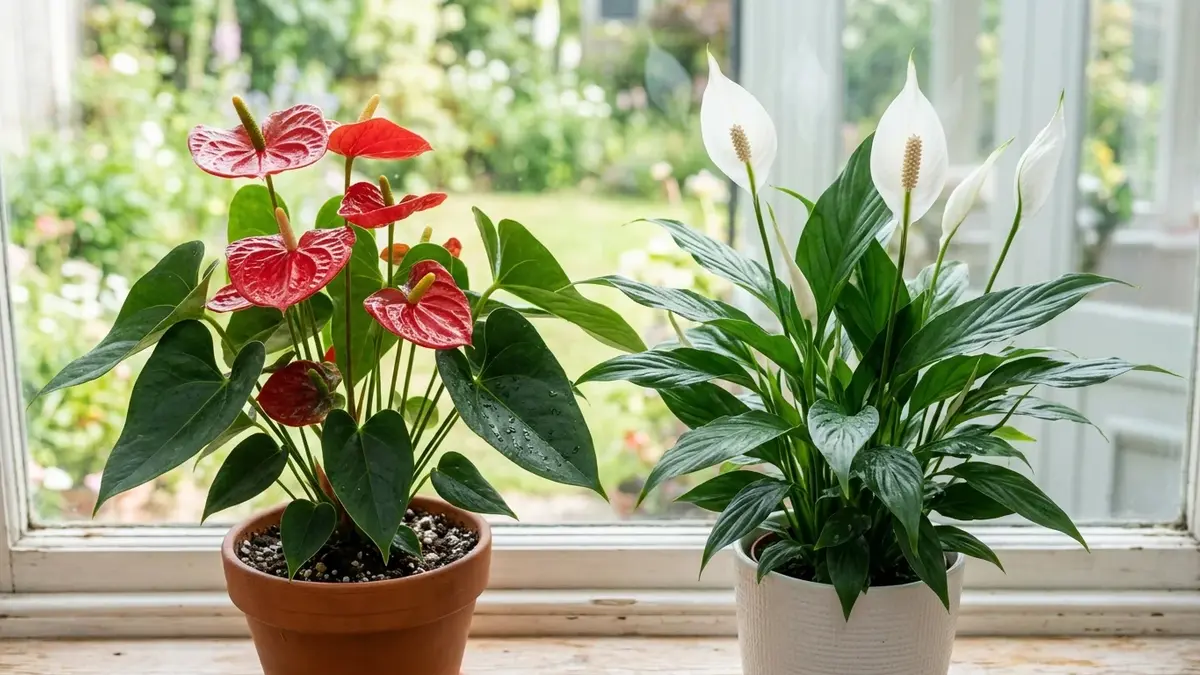
For more specific advice, red peace lilies and anthuriums often benefit from a tailored approach, because the right potting mix always depends on the actual plant rather than just the name printed on the label.
How to Remove a Plant From Its Pot Without Damaging It
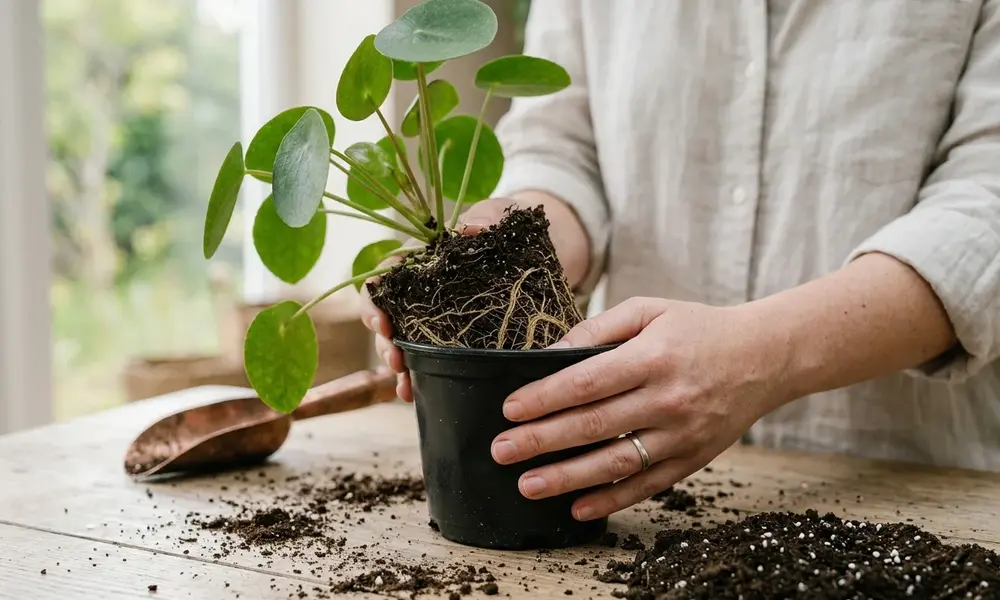
This step can feel awkward, especially when the plant is stuck. Take your time. Pulling hard on the stem is one of the easiest ways to damage a plant.
- Put your hand over the soil, supporting the plant near the base without squeezing the stem.
- Tilt the pot gently to one side.
- Squeeze the sides of a flexible plastic pot to loosen the root ball.
- Tap the pot’s sides or base against your hand or a safe surface.
- Slide the root ball out while supporting it from below.
If the plant will not come out, do not keep yanking. Run a blunt tool carefully around the inside edge of a rigid pot if needed, taking care not to slice through the roots.
For a cheap plastic nursery pot, cutting the pot away may be safer than forcing the plant out. Be careful with scissors or a knife, and keep the blade away from your fingers and the roots.
If the plant is badly stuck in a ceramic pot, work slowly. A cracked pot is annoying; a broken stem or damaged root ball is worse.
How to Loosen and Trim Roots
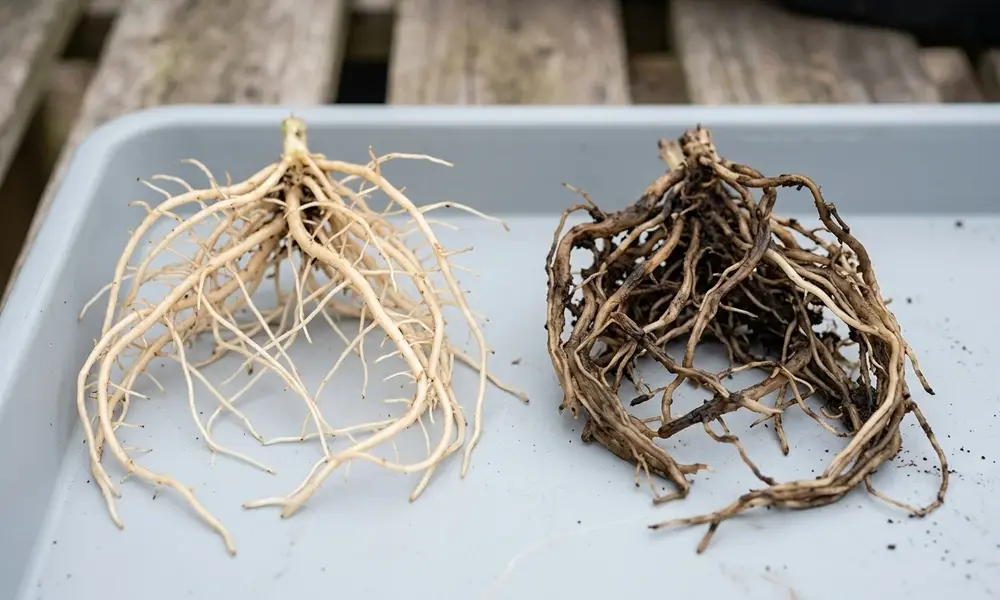
Once the plant is out, look at the roots before you start cutting.
What healthy roots look like
Healthy roots are usually firm, not slimy or hollow. Their color can vary by plant: some are white or cream, while others are tan or naturally darker. Color alone does not tell you whether a root is healthy.
Gently loosen the outer roots with your fingers. If they circle tightly around the root ball, guide them outward where you can do so without tearing them. A dense root mat may need a little more work, but avoid ripping the whole root ball apart.
What rotten roots look and feel like
Rotten roots are often soft, mushy, or slimy. They may be dark brown or black and can smell unpleasant. Healthy roots usually hold their shape when touched; rotten ones may fall apart or lose their outer layer.
Do not remove a healthy root just because it is brown. Check its texture and condition first.
How much root should you cut?
Cut only what needs to come off. Remove clearly rotten, dead, or badly damaged roots with clean scissors or pruning snips.
If a few roots are circling the root ball, try loosening them first. If a plant is extremely root-bound, some circling roots may need trimming, but heavy root pruning can stress the plant. The amount that is safe depends on the species and the plant’s condition.
Clean your cutting tool before using it, especially if you are removing rotten roots or working with more than one plant. Wipe away debris and use an appropriate disinfectant according to its label. Let the tool dry before cutting.
You do not need to wash every bit of old soil from healthy roots. Removing all the old mix can cause unnecessary damage. Take away loose, exhausted mix and any soil that is clearly part of a root-rot problem, while keeping as many healthy roots intact as practical.
How to Put the Plant in the New Pot
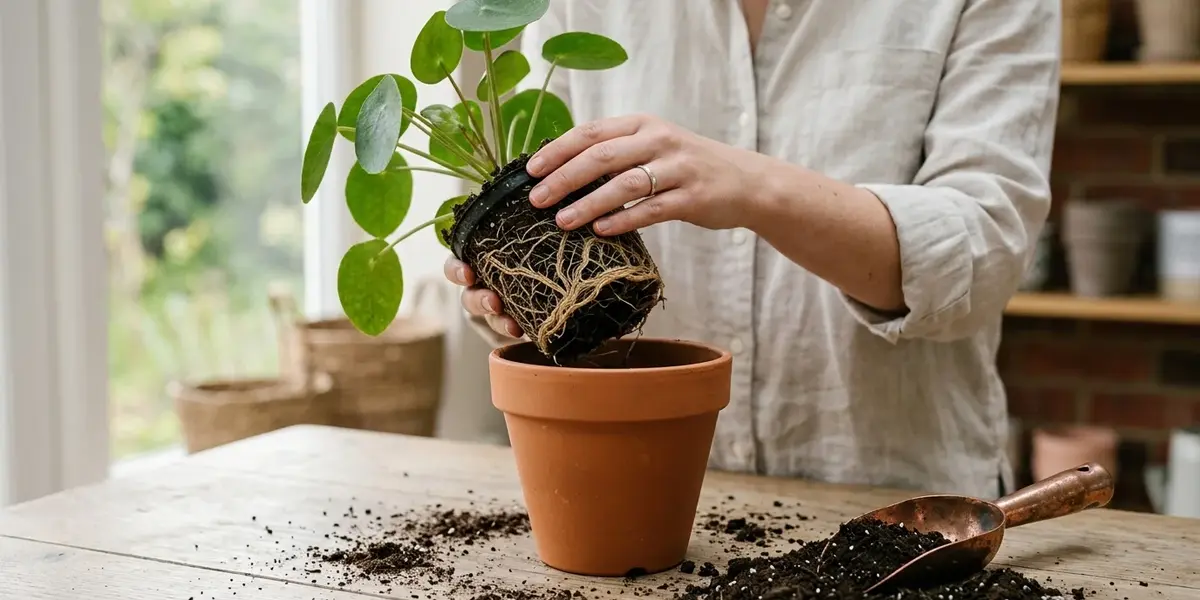
Now you can move the plant into its new home.
1. Add a little fresh mix
Put enough potting mix in the bottom of the new pot to support the root ball at the right height. Set the plant in the centre and check the soil level before filling the sides.
The top of the root ball should generally sit a little below the rim, leaving space for watering. Around 1/2–1 inch (1–2.5 centimetres) of space is a useful guide for many pots.
2. Keep the plant at its original depth
The point where the stem meets the soil should usually remain at about the same level as before. Do not bury the stem deeper just to make the plant look stable.
Some plants have special planting needs, so follow species-specific instructions when they differ from general houseplant advice.
3. Fill the gaps around the roots
Add fresh mix around the sides of the root ball. Tap the pot gently on the table or press the mix lightly with your fingertips to settle it.
Do not squash the mix into a hard layer. Roots need air as well as water, and compacted mix can make it harder for water to move through properly.
4. Water according to the plant’s needs
For many common houseplants, water thoroughly after repotting until excess water runs through the drainage holes. This helps the mix settle around the roots.
However, watering needs vary. A typical tropical houseplant and a succulent do not need the same watering routine. For a succulent in a suitable dry mix, allow the plant and mix to follow the needs of that species rather than keeping the pot wet.
Empty the saucer or decorative outer pot after watering. Never leave the plant sitting in collected drainage water.
How to Care for a Repotted Plant
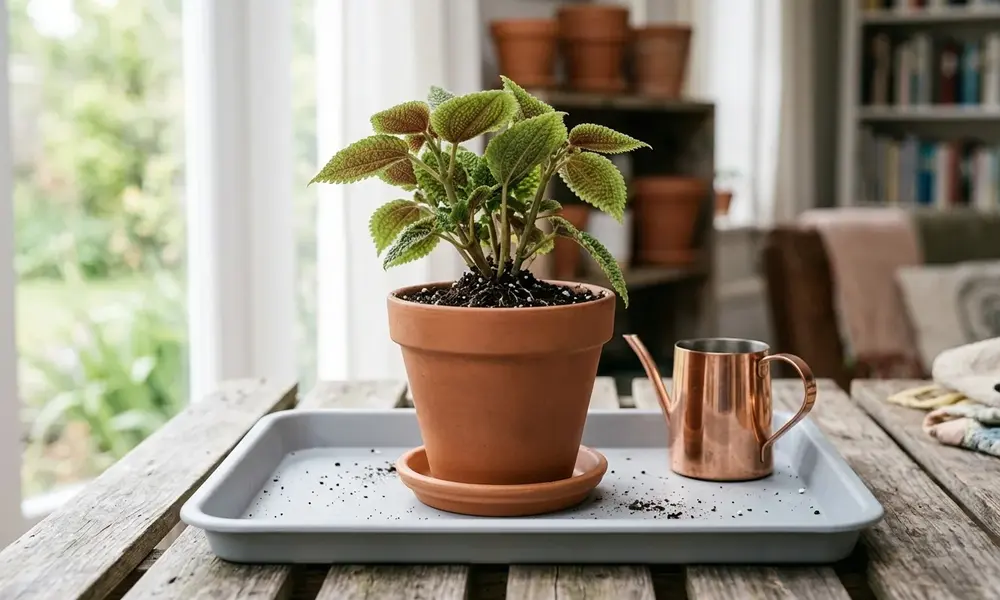
A plant may need a little time to adjust after repotting. You may see slight drooping or slower growth for a short period, especially if the roots were disturbed. That does not automatically mean the plant is dying.
Focus on steady care instead of trying to fix every leaf at once.
Right after repotting
- Water thoroughly if that suits the plant and the mix.
- Let the excess water drain away.
- Place the plant in the light it normally needs, often bright indirect light for common tropical houseplants.
- Avoid moving it repeatedly or making several other major changes at the same time.
Do not put a shade-loving houseplant into harsh direct sunlight to help it recover. More sun is not a universal cure for stress.
During the first week
Check the soil before watering again. Do not water simply because the plant has been repotted. A larger pot may take longer to dry, and the roots may use water differently while adjusting.
Look at the leaves and stems, but do not panic over one slightly drooping leaf. Check for more useful clues: is the soil staying wet for days, is the plant collapsing, or are the leaves getting worse?
During weeks two to four
Keep the care routine steady. Watch how quickly the new mix dries, and adjust watering to the plant rather than following a fixed calendar.
If the plant begins to grow new leaves, that is encouraging. Some plants take longer, especially if they were repotted outside their active growing season or had damaged roots.
Should you fertilize after repotting?
Usually, wait before adding fertilizer. Fresh potting mixes may already contain nutrients, and extra fertilizer is not a quick fix for repotting stress.
Iowa State University Extension advises waiting at least two to four weeks before returning to regular fertilizing, and notes that some mixes supply nutrients for longer. A cautious approach is to wait around four weeks for many common houseplants, then follow the plant’s normal feeding needs and the instructions on the fertilizer label.
If your mix contains slow-release fertilizer, you may not need to feed the plant for some time. Avoid fertilizing a plant that is still struggling or not actively growing.
Repotting Mistakes That Can Harm a Plant
A small mistake does not always kill a plant, but several common errors can make recovery harder.
Choosing a pot that is much too big
A large pot holds more mix than the roots can use. If that mix stays wet for too long, the roots may lose access to enough air and begin to rot.
Move up one size rather than jumping several sizes.
Using heavy or unsuitable soil
Garden soil or a dense mix may become compacted inside a pot. Roots need a balance of moisture and air, so use a potting mix that suits the plant.
Watering by habit instead of checking the mix
Some plants need water after repotting; others need the mix to dry more between waterings. Check the species and feel the mix before adding more water.
Repotting a sick plant without finding the cause
If a plant has yellow leaves or is drooping, a bigger pot may not solve the problem. Check for root rot, pests, poor light, and watering issues first.
If the roots are rotting, repotting may be necessary—but use a suitable mix, remove the rotten sections, and correct the cause of the excess moisture.
Burying the stem too deeply
Adding soil above the plant’s original level can keep parts of the stem too wet. Keep the plant at its usual depth unless that species needs a different approach.
Packing the soil too tightly
Hard packing reduces the open spaces in the mix. Add enough mix to hold the plant upright, then settle it gently.
Feeding too soon
Fertilizer does not undo root damage. Give the plant time to settle and follow the advice for the type of potting mix you used.
Repotting just because the calendar says so
A plant does not need a new pot every spring. If it has room, healthy roots, and a mix that drains well, leave it alone. Repot when the plant’s condition gives you a reason.
How to Repot Specific Plants
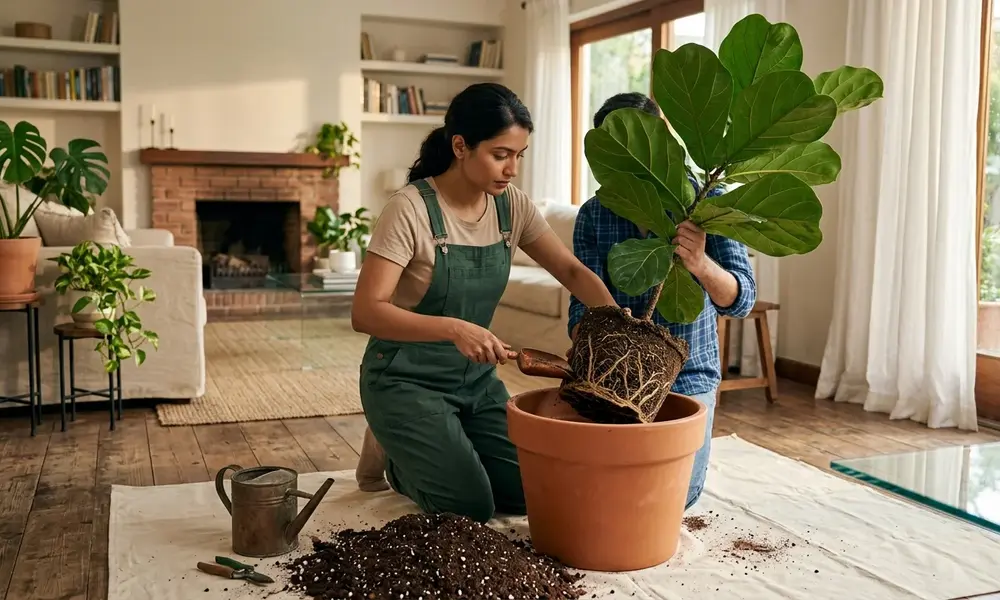
The basic method is similar for many plants, but the mix and watering routine can change.
Peace lilies
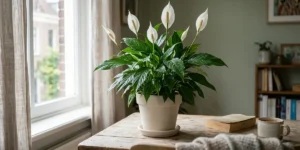
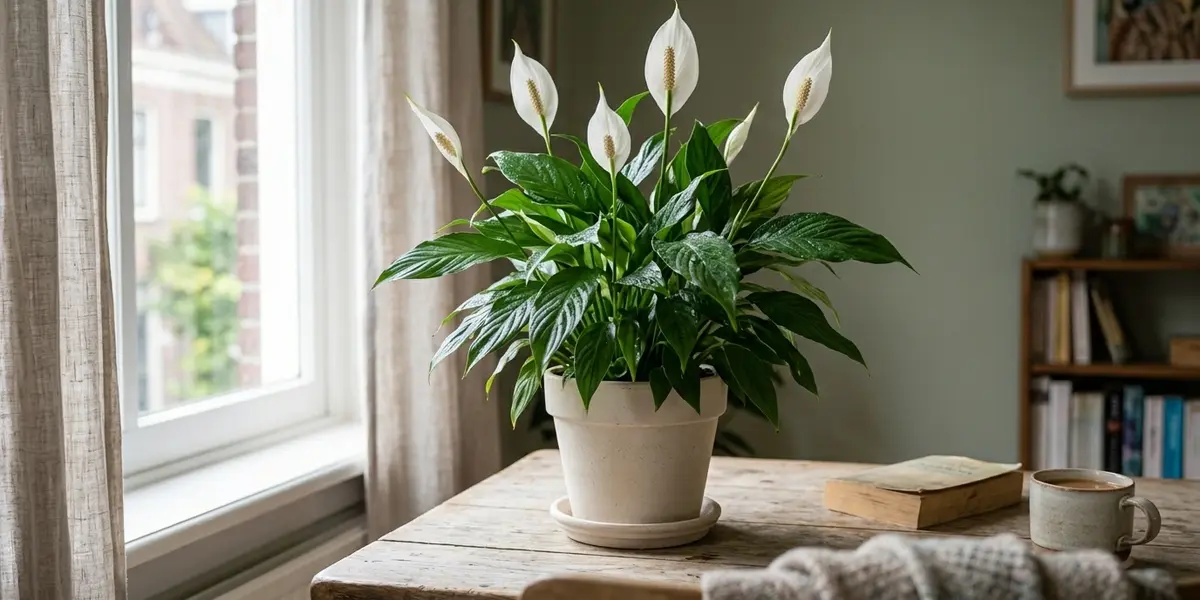
Peace lilies usually do well in a moisture-holding but well-draining indoor mix. Move up only one pot size if the roots have filled the current container. Keep the plant at its original depth and water after repotting, then let excess water drain.
For additional help with light, watering, and general care, peace lily care guides offer useful tips, though the best approach always relies on observing how your specific plant responds in its environment.
Snake plants
Snake plants have thick, water-storing leaves and usually prefer a mix that drains well. A cactus or succulent mix can be useful, depending on the blend and growing conditions.
Choose a stable pot with drainage holes. Do not move a small snake plant into a huge container, and avoid keeping the new mix constantly wet.
Succulents
Use a fast-draining succulent or cactus mix and a pot with drainage holes. Terracotta can help the soil dry faster, although watering and room conditions still matter.
Handle fleshy roots carefully and do not keep watering just because the plant has recently been repotted. Follow the needs of the particular succulent.
Orchids
Many common indoor orchids grow in chunky orchid bark or a similar airy orchid mix, not standard potting soil. Their roots need air, and the pot and mix should suit the orchid type.
Do not treat every orchid like a pothos or peace lily. Check the care needs of the specific orchid before changing its pot or growing medium.
Large floor plants
For a tall plant, choose a pot with a broad enough base to keep it stable. You may need another person to help support the plant while you remove the old pot.
If the plant is too large to move into a new pot easily, you may be able to refresh the top layer of mix instead—provided the root system is healthy and there is still enough room. If you cannot safely handle the plant, do not force it.
A Practical 20-Minute Repotting Plan
A small plant can often be repotted in about 20 minutes, once your tools and potting mix are ready. A large or tightly root-bound plant may take longer. Do not rush the root check just to finish on time.
| Time | What to do | Quick check |
|---|---|---|
| Minutes 0–3 | Cover the work surface and gather the pot, mix, scissors, and water | Does the new pot have drainage holes? |
| Minutes 3–5 | Check the plant and lightly moisten very dry mix if needed | Is repotting actually necessary? |
| Minutes 5–8 | Remove the plant gently from its old pot | Are the roots healthy, crowded, or rotten? |
| Minutes 8–11 | Loosen circling roots and trim only damaged sections | Have you kept as many healthy roots as possible? |
| Minutes 11–15 | Add mix, position the plant, and fill the sides | Is the plant at its original depth? |
| Minutes 15–18 | Settle the mix gently and water if appropriate | Can excess water drain away? |
| Minutes 18–20 | Clean up and place the plant in a suitable spot | Is the plant stable and out of harsh conditions? |
Before starting, check the cost of the pot and mix. For one small houseplant, you may only need a basic plastic pot and a small bag of suitable mix. Costs vary by location, pot material, and plant size, so check local prices instead of assuming an expensive container is necessary.
Conclusion: Give Your Plant Room, Not Too Much Room
A plant leaning over its pot or pushing roots through the drainage holes can make repotting feel urgent. But the best result usually comes from a few calm checks: look at the roots, choose a pot only slightly larger, use the right mix, and keep the plant at its original depth.
Do not cut healthy roots just to make the job look neat, and do not water again until the plant needs it. A little care during the move can prevent many of the problems that make houseplants struggle afterward.
If your plant is healthy and has room to grow, you can leave it where it is. If it really has outgrown its pot, give it a better home—and then give it time to settle.
Frequently Asked Questions
1. How do you know when to repot a plant?
Look for roots growing through drainage holes, roots tightly circling the root ball, soil that dries unusually fast, or growth slowing despite suitable care. Check the roots if you are unsure.
2. Should I water a plant before repotting?
There is no single rule for every plant. Slightly damp mix often makes the root ball easier to remove and handle. Very dry mix can fall apart, while soaking wet mix can be heavy and messy. Aim for slightly damp soil for many common houseplants, but follow the needs of plants that prefer drier conditions.
3. Can I repot a plant in winter?
Yes, if there is a good reason, such as rotten roots, a broken pot, or a serious drainage problem. For routine repotting, spring is usually better for plants that grow actively during the warmer months.
4. Should I use a bigger pot when repotting?
Usually, choose a pot about 1–2 inches wider than the current one. A pot that is much too large can hold excess moisture around the roots.
5. Do I have to remove all the old soil?
No. Keep healthy roots intact and remove only loose or unsuitable old mix as needed. If the soil is rotten or contaminated, more may need to be removed, but avoid stripping healthy roots without a reason.
6. How long does a plant take to recover after repotting?
It depends on the plant, the season, and how much the roots were disturbed. Some settle within days, while others may take several weeks to show fresh growth. Stable care is more useful than trying to force recovery.
7. Should I fertilize after repotting?
Usually, wait at least two to four weeks before returning to regular feeding, and check whether the new mix already contains fertilizer. Follow the needs of your plant and the product label.
8. Can I repot a plant when it is flowering?
If the plant is healthy, it is often better to wait until flowering ends. If the roots are rotting or the pot is broken, dealing with the problem may be more urgent than protecting the flowers.
9. Why is my plant drooping after repotting?
Some drooping can happen after roots are disturbed. Check the soil moisture, drainage, and light before doing anything else. Do not keep adding water if the mix is already wet. If the plant keeps getting worse, inspect it for root damage or rot.
10. What type of pot is best for repotting?
For most houseplants, use a pot with drainage holes that is only slightly larger than the old one. Terracotta dries faster, plastic holds moisture longer, and glazed ceramic is often heavier. Choose based on your plant and watering habits.