A peace lily’s beauty isn’t just about its blooms or foliage; it’s also about the pot it lives in. The right peace lily pot enhances growth, complements interior decor, and supports the plant’s health and structure. While many plant lovers focus solely on lighting and watering, the pot is equally important and often overlooked.
From drainage to depth and from aesthetics to aeration, every aspect of a pot influences how well a peace lily thrives. Using the wrong type of container can lead to issues like root rot, poor blooming, or stunted growth. Meanwhile, the right pot can transform an average plant into a showpiece.
In this article, you’ll learn how to choose the best pot for your peace lily based on material, size, and style. We’ll also explore how potting affects care routines, how to prevent common container-related mistakes, and how to use pots to elevate both plant health and room design.
Pot Size, Depth, and Growth Impact

The size and depth of the pot directly affect how well your peace lily grows. A pot that is too small restricts root development, limiting the plant’s ability to absorb nutrients and moisture. Conversely, an oversized pot can cause excess soil to retain too much water, increasing the risk of root rot.
The ideal peace lily pot is just slightly larger than the root ball, allowing for moderate expansion and healthy root breathing. Depth also matters. Peace lilies have shallow root systems, so a deep pot isn’t required unless the plant is very mature. Shallow-to-medium depth containers with good width are usually best.
When to Repot Your Peace Lily
If your peace lily becomes root-bound, where roots circle tightly at the bottom, it’s time to repot. Signs include roots coming out of drainage holes, slow growth, or leaves drooping despite adequate care. Repotting every 12–18 months allows the plant to refresh its soil and stretch its roots comfortably.
Pot Size Guidelines
For a standard peace lily, a pot between 6–8 inches in diameter is a safe start. Larger plants may require 10–12-inch pots, but be cautious not to go too big too fast. Gradual upgrades help maintain ideal moisture levels and prevent transplant shock.
Depth vs Width Balance
Peace lilies prioritize horizontal over vertical root spread. Choose wider pots rather than deeper ones. Ensure roots aren’t buried too deep, as this can suffocate the crown and lead to fungal issues. Surface-level planting supports both growth and stability.
Best Pot Materials for Peace Lily Health
Material matters when selecting a peace lily pot. It influences weight, moisture control, insulation, and overall aesthetic. From breathable clay to sleek ceramic, every type has its pros and cons. Your choice should align with both care routine and design preference.
Porous materials like terra cotta improve airflow and prevent overwatering, but dry out quickly. Glazed ceramic, on the other hand, retains moisture longer but requires careful watering. Knowing how each pot material behaves helps you choose one that fits your environment.
Peace Lily Pot: Terracotta and Clay Pots
These are classic choices for peace lilies due to their breathability. They help evaporate excess moisture from the soil, reducing the risk of soggy roots. However, they may dry out too fast in hot or dry environments and often need more frequent watering.
Ceramic and Glazed Pots
Glazed ceramic pots offer elegance and moisture retention. They’re ideal for low-humidity spaces but should always have proper drainage holes. Without them, water can pool at the bottom, creating unhealthy conditions. Choose ceramic pots with saucers for spill control.
Plastic and Lightweight Containers
Plastic pots are affordable, versatile, and retain water well. They’re great for beginners but can trap too much moisture if overwatered. They also heat up quickly in sunlit areas, which can stress roots. Use them with care and avoid dark-colored plastic in direct light.
Drainage and Moisture Management
Drainage is one of the most critical aspects of pot health for peace lilies. Without it, even the best soil can become oversaturated, leading to root rot and plant stress. A good pot should always have one or more holes at the bottom to allow excess water to escape.
It’s not just about drainage holes, though. The potting method you use, from soil layers to saucer use, affects overall moisture control. Properly layered pots reduce waterlogging and maintain a healthy root environment over time.
Why Drainage Holes Are Essential
Peace lilies hate standing water. Excess moisture causes leaves to yellow and roots to decay. Drainage holes prevent this by allowing water to exit freely. When buying decorative pots without holes, use them as covers rather than functional containers.
Peace Lily Pot: Using Saucer Systems
A saucer under the pot can catch runoff and protect floors, but standing water in the saucer must be emptied regularly. If the pot sits directly in the runoff, it reabsorbs excess water, defeating the purpose of drainage. Use pot feet or risers for added airflow.
Layering for Better Moisture Flow
Adding a base layer of pebbles, lava rocks, or broken pottery shards at the bottom of the pot can improve drainage. Pair this with a high-quality indoor potting mix and occasional perlite for aeration. This setup reduces water retention and supports healthier roots.
Decorating with Peace Lily Pots
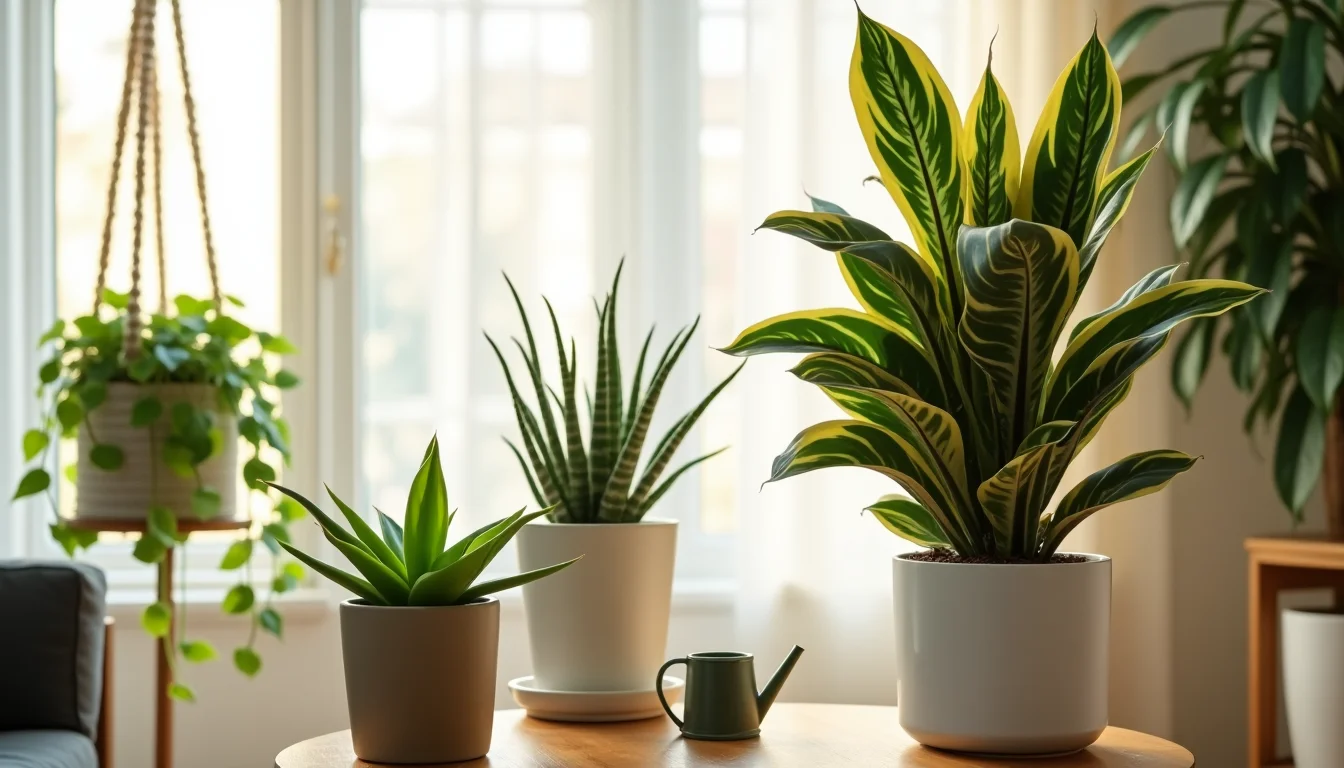
Your peace lily’s pot doesn’t just hold soil; it holds design potential. Whether you aim to match your interior style or create contrast, the right container acts as a decor statement. From minimal ceramic to textured rattan, the pot you choose enhances the overall vibe of the plant.
This section explores how to pair pots with room themes, adjust the size for shelf vs floor display, and make your peace lily an intentional part of your home layout. With smart potting, your plant becomes both sculpture and soul of the space.
Styling for Room Themes
Neutral pots work well in modern, minimalist spaces. Matte blacks and whites highlight the green leaves while keeping the look clean. For boho or rustic styles, consider baskets, natural clay, or woven covers. Pops of color can also be added through painted pots or printed wraps.
Floor vs. Shelf Placement
Larger peace lilies in heavier pots are better suited for the floor, especially in corners or entryways. Smaller pots (under 8 inches) can be placed on shelves, desks, or plant stands to draw attention upward. Just make sure light and airflow reach them equally.
Seasonal Styling Ideas
Switch up pots seasonally for a fun decor refresh. Use brass or dark stone in winter, woven materials in summer, and deep emerald or red tones in fall. This adds variety while keeping your peace lily adaptable to your changing interior moods.
Repotting and Long-Term Care Tips
Repotting your peace lily into the right container at the right time extends its life and enhances its performance. Done properly, it refreshes soil nutrients, improves root space, and reduces stress. This section guides you through knowing when and how to repot like a pro.
Whether you’re dealing with root-bound issues or planning ahead, repotting also gives you the opportunity to inspect root health and update your pot for seasonal decor. It’s a practical and aesthetic move.
Peace Lily Pot: When to Repot
Repot your peace lily every 12–18 months or when you notice slowed growth, yellowing leaves, or roots poking out of the drainage holes. Spring is the best season for repotting because it aligns with the plant’s natural growth period. Avoid winter unless absolutely necessary.
Tools and Steps for Repotting
Here’s a simple step-by-step process:
- Water the plant a day before repotting to soften the root ball
- Choose a pot 1–2 inches wider than the current one
- Add drainage material at the base
- Fill with fresh, nutrient-rich potting mix
- Gently loosen the roots and place the plant in
- Backfill with soil, press gently, and water lightly
Aftercare and Monitoring
After repotting, keep the plant in indirect light for a few days. Watch for drooping or leaf curl, signs of transplant stress. Mist lightly to boost humidity, and don’t fertilize for 4 weeks to let the roots settle. Return to regular care once new growth appears.
Final Thoughts: The Right Peace Lily Pot Makes All the Difference
Choosing the best peace lily pot isn’t just about aesthetics, t’s a commitment to your plant’s health and style. From size and drainage to design and seasonal swaps, every element of the pot contributes to your plant’s long-term success.
With the right container, you reduce plant stress, encourage healthier roots, and enhance leaf vibrancy. You also give your peace lily a stage that reflects your personality and home vibe. A beautiful pot elevates the plant’s presence.
Whether you’re styling a shelf or refreshing a living room corner, don’t underestimate the impact of the peace lily pot. It’s more than a vessel; it’s the foundation of thriving, stylish greenery in your life.

