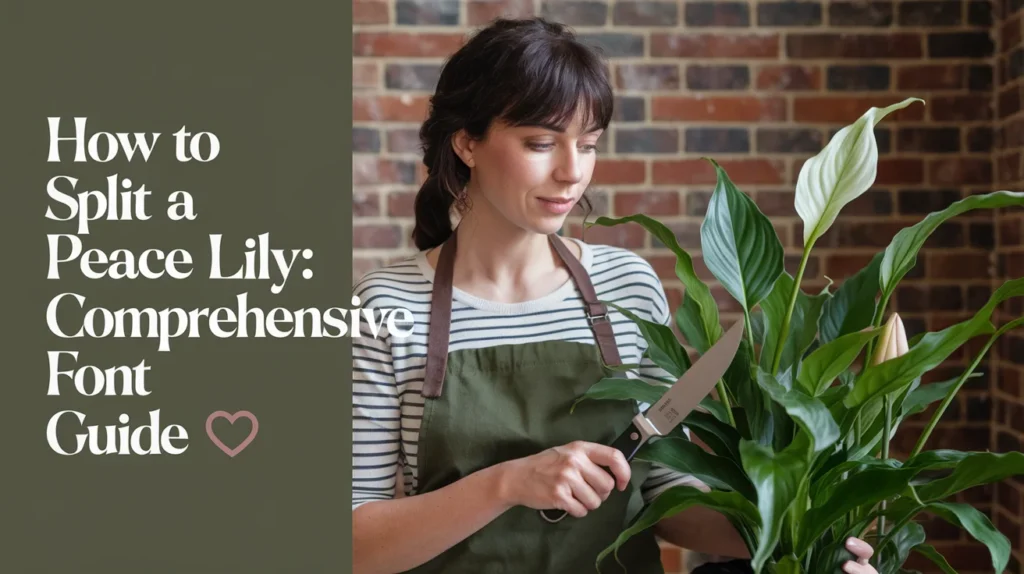
One of the most popular houseplants is the peace lily (Spathiphyllum), which is well known for its beautiful pale blooms and lush creamy leaves. Still, after some time it may start to feel a little cramped in its container, and this is a good problem to have as the peace lily is ready for splitting. Not only does dividing a peace lily give the plant some space to develop, but it also gives the owner the chance to produce several new plants from an older plant. In this article, we will discuss how to easily, efficiently, and effectively perform the “operation” of how to split a peace lily. 🌱
The Benefits of Splitting a Peace Lily 🌿✨
Before throwing ourselves into the process of how to cut and transplant a peace lily, let us first explore why it should be done. With the course of time, peace lilies may become root-bound in the pot, which is why the roots will end up being root-bound. This root restriction can lead to poor airflow and, therefore, slow growth and minimal flowering. Blooms, for example, can be split to enable the plant to grow well, and you also promote different plants.
When is it right to divide a potted peace lily? 🗓️🌸
The most appropriate season to do this is in the spring or the early summer, which is the vegetation period of the plant. Using this timing makes it easier for the plant to recover quickly and start growing in its new pots. The peace lily should not be split in winter as the plant goes into dormancy and it may not recover quickly from the new divisions when they are split.
Tools You’ll Need to Split a Peace Lily 🔧🌿
To split a peace lily successfully, gather the following tools and materials:
A sharp knife or garden scissors.
Enough potting mix.
New pots—preferably those that have drainage holes.
A watering can.
Optional: gardening gloves.
Preparation of these tools ensures that the procedure runs without hitches, and the chances of injuries to the plant are reduced.
How to Divide the Peace Lily: Step-by-Step Process for Beginners 🌿🔪
Step 1: Preparing the Peace Lily for Splitting 🌱🪴
Begin by watering your peace lily well 1-2 days before you decide to split it. The operation is easier with well-watered roots, since the roots are often damaged or have to be cut to divide them.
Step 2: Remove the Peace Lily from its pot. 🪴🌾
Simply tip the peace lily to one side to take it out of the pot once you have removed everything. You may have to bang the sides a little more or strum it with your fingers so that the soil comes a little loose. Just make sure not to injure the roots while doing so.
Step 3: Inspect the Root System 🌿🔍
As for the final step, once the peace lily is out of its pot, move on to the next step: look at the root system. There will be bound portions of roots hardly growing individually; these are known as root balls. Each ball can be taken apart for repotting purposes on its own.
Step 4: Divide the Peace Lily. 💡✂️
The most important deadline is now: dividing the peace lily plant. Make sure to gently break the parts of the clumped root using your two hands or a sharp, clean knife for coarseness. Try to multitask the crown by aiming for sections that have at least 2-3 healthy and fully formed leaves along with a piece of the growing root clustered with it. Be careful not to irreparably mistreat the roots or the leaves.
Step 5: Arrangement of the Divided Plants: Repotting 🪴🌱
Now that you have completed the splitting of the peace lily, the fun begins with potting the new plants. Select pots that are more moderate in size than the divided root balls and pack them with well-draining potting soil. Position each section of the peace lily in its respective pot, ensuring that the roots of the divided section are evenly spread. Top up the soil gently to the level around the plant without disturbing it.
Step 6 – Watering and Other Aspects of Caring for the New Plants 🌾💧
Finally, after potting new peace lilies, they should be watered generously to promote good contact between the high root’s root and the soil. Newly potted plants should be placed in an area with constant warmth and indirect light. For a month or two after splitting, supervise the plants, checking that they do not require more or less water and light than they should.
What To Do And What Not To Do When Splitting A Peace Lily 🌿🚫
There are those who are confident that splitting the peace lily is easy; it is easy, but there are blunders like others that are worth explaining: to be known as overwatering the new plants. This regards watering and watering. Many of them do require watering, especially after division, but this needs to be controlled. Ensure that the soil is still moist but not soggy.
Using dull tools: A sharp knife or shears should always improve the efficiency of the cut. However, tearing and breaking open the roots with improper tools can hamper the recovery of the plant.
Not providing enough light: Peace lilies do well in places with shade or incomplete illumination. Pay attention not to stress the new plants by ensuring that they receive sufficient light.
Do you know how long it takes for a Split Peace Lily to recover? 🌱⏳
Once split up a peace lily, expect a few weeks before it gets acclimatized to the new pot. It is also normal for the plant to concentrate on the roots at this stage and forget about any new leaves or flowers. After 6-8 weeks, you should be able to see some signs of new growth as the plant gets accustomed.
Advantages of splitting a peace lily. 🌿🏡
Besides creating more space for the peace lily itself, splitting offers a number of advantages:
Propagation: One can produce many new plants from a single mother peace lily, which is very ideal for gifts or planting in other portions of the house.
Healthier growth: The action of dividing the plant also alleviates the problem of overcrowding, thereby improving aeration and resulting in healthy root systems.
Longer lifespan: Splitting can help prolong the lifespan of the peace lily and ensure it is around the house for years to come.
Conclusion:
Mastering how to split a peace lily is a skill that every plant lover should have. It not only helps in the growth of the existing plant but also makes it possible to get infant plants that can be grown or given away. This detailed article will help you divide your peace lily and how to make sure each new offshoot is healthy in its new pot without making the most common mistakes.
With some tools, some patience, the right timing, and love, your split peace lilies will remain a treat in the house in the form of healthy green leaves and beautiful flower.

