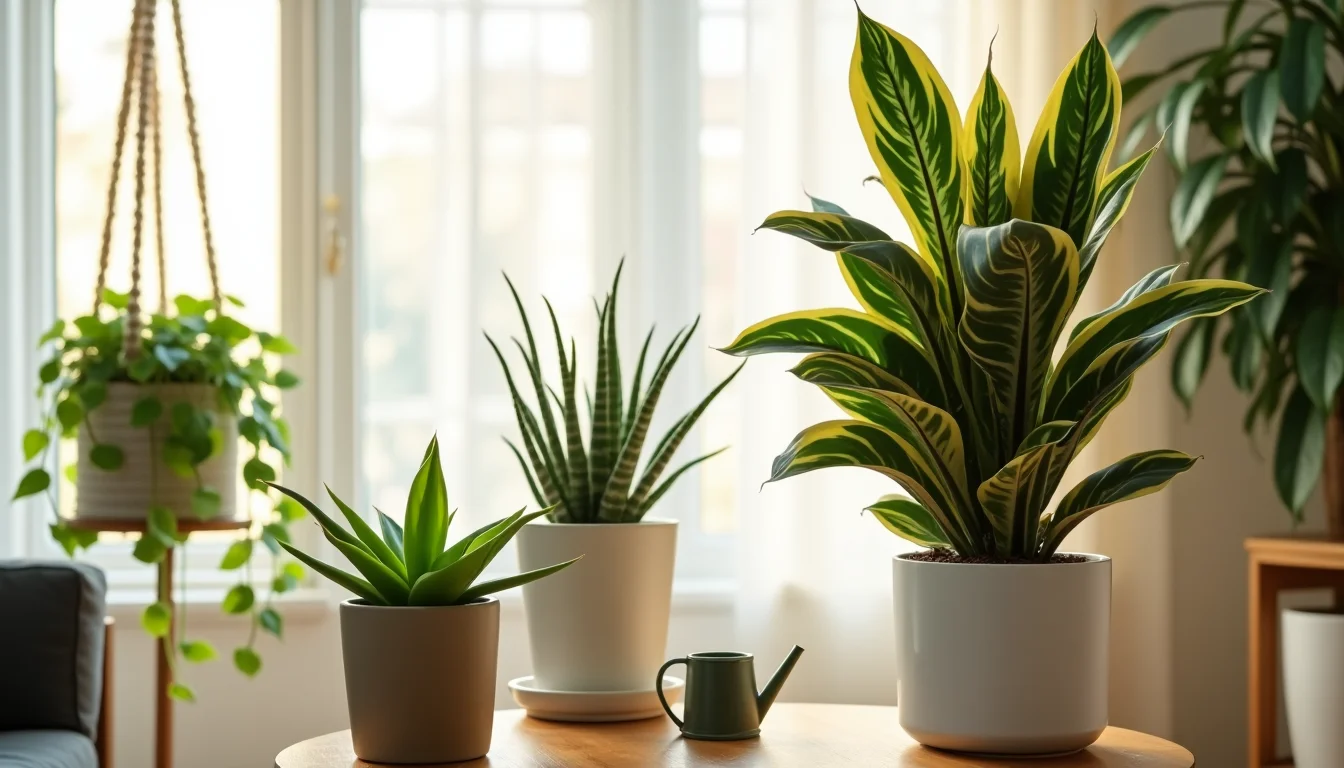
Saving a dying plant isn’t as hard as you might think. A 2024 Tree Triage survey found that 1 in 6 people kill every plant they grow, so your struggling greenery puts you in good company. With the right care and a few simple steps, you can easily save a dying plant and bring it back to life.
Your plant’s wilting leaves and brown tips show it needs help fast. Good news – if you spot any green in the stem or the roots still feel firm, your plant can make a comeback.
Most plant problems come from basic care mistakes. Too much water causes root rot, poor lighting leads to pale leaves, and humidity levels outside the 40-60% range stress your plants out. By understanding these common mistakes, you can empower yourself to revive most houseplants.
This emergency rescue guide provides a step-by-step plan to diagnose and revive your dying plant quickly. It works for overwatered plants, pest problems, lighting issues, and almost any other plant emergency you might encounter. These plant-saving techniques have been proven to work in real homes, giving you hope and optimism that you can revive your plant to health again!
Step 1: Diagnose the Problem Fast
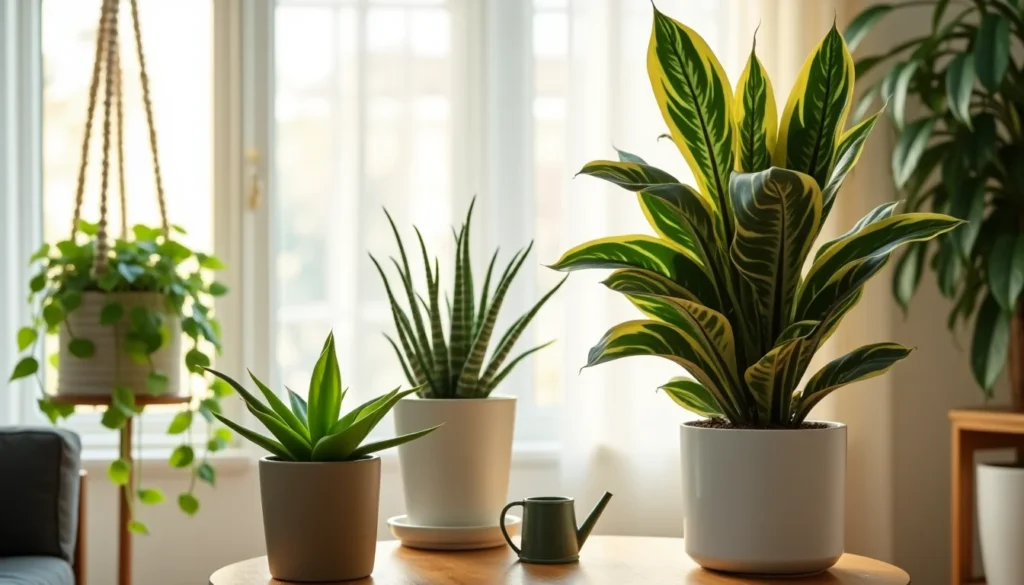
Image Source: Apartment Therapy
A quick diagnosis is crucial for saving a dying plant and giving it the best chance at survival. Identifying the exact problem before taking action is the key difference between recovery and collapse. The urgency of this task cannot be overstated.
Check for signs of life in leaves and stems.
The first step is to examine the stems to determine if your plant is still alive. Healthy stems should feel pliable yet firm, with green tissue visible inside. I scratch a small section with my fingernail – finding green underneath means there’s still hope! Mushy or brittle stems indicate a root issue. Brown, dry, or black stems signal serious trouble.
Look for pests, mold, or root rot.
Pest and disease detection must occur early to prevent significant damage. When examining leaves, watch for:
- Yellow stippling or webbing (spider mites)
- White powdery coating (mildew)
- Black spots or fuzzy gray mold
- Wilted leaves despite moist soil (potential root rot)
Root rot is one of the most severe plant problems – it manifests as soft, brown roots instead of firm, white ones. Healthy roots should feel firm and appear tan, while rotting roots turn soft, brown, or black, emitting a foul odor. Overwatering and poor drainage are usually the causes of this problem.
Use the soil squeeze test to determine moisture levels.
The soil squeeze test takes only seconds but provides valuable information about moisture levels. Just grab a handful of soil and squeeze it together. When you open your hand, perfectly moist soil mostly holds together with a few crumbs falling away. Too wet soil keeps its shape completely; too dry soil falls apart entirely. A quick test can completely change your plant care results.
Checking these three areas systematically—stems and leaves, pest and disease signs, and soil moisture—helps pinpoint exactly why your plant is struggling. By identifying the root cause, you can take the right steps to save a dying plant before it’s too late.
Step 2: Remove the Damage
After identifying what’s killing your plant, you need to remove the damaged parts. This helps prevent problems from spreading and allows your plant to focus on growing healthy new parts.
Cut off dead leaves and stems.
Dead leaves hurt your plant’s recovery chances. Removing damaged parts does several important things:
- Stops disease from spreading to healthy areas
- Keeps pests away from decaying plant matter
- Helps your plant direct energy to new growth
- Let the air circulate better around the remaining leaves
Always use clean, sharp scissors to make clean cuts. Tearing leaves creates entry points for disease. For yellowing leaves, wait until they’re completely yellow before cutting them off. Only remove leaves that are more than 50% damaged; partially green leaves still help your plant produce food. Clean, sharp scissors prevent the spread of disease and ensure a clean cut, which aids in the plant’s recovery.
When cutting, remove all dead, broken, and diseased parts by cutting at the base or back to a healthy branch. Don’t leave stubs behind as they invite disease. Keep pruning to less than 25% of the plant’s total leaves at once to prevent shock.
Clean roots of pests or fungus are present.
Root problems appear as yellowing or wilting, even when watering seems sufficient. If roots might be the issue:
- Take the plant out of its pot
- Wash the soil away using lukewarm water
- Look for soft, brown, or black roots (healthy roots are firm and light-colored)
- Cut away all rotting roots with clean scissors
- Throw away infected soil in sealed bags – don’t compost it
For root pests like fungus gnats, replace all the old soil with fresh potting mix. These pests stunt growth by feeding on root sap.
Clean your tools with a 10% bleach solution after working with sick plants to prevent the spread of problems to your other plants.
Step 3: Reset the Environment
Image Source: Porch
After cutting away the damaged parts, your plant needs the right environment to heal. Getting these conditions right fixes the original problems that made your plant sick in the first place. Resetting the environment is crucial as it helps to prevent the original problems from recurring and supports the plant’s recovery.
Adjust the watering schedule according to the type of soil.
Your soil type decides how often you should water your recovering plant. Most people miss this crucial factor when trying to save their plants. Here’s how to water based on your soil:
- Sandy soils: These soils drain quickly and dry rapidly. Water twice a week, using approximately 0.5 inches each time. Light, frequent watering works best.
- Clay soils: These retain water for longer periods. Water once a week with approximately 1 inch of water, allowing the soil to partially dry between waterings.
- Loamy soils: These balanced soils require a middle-ground approach – regular watering while keeping the soil moist, but never soggy.
Move the plant to better lighting conditions.
Light has a direct impact on your plant’s recovery speed. Each plant requires specific light levels – too little results in weak, pale growth, while too much causes the leaves to burn.
Check your plant’s light requirements (high, medium, or low) and position it in the optimal spot.
South-facing windows receive the strongest light, while east and west windows provide about 60% of that, and north-facing spots offer only 20%. A light meter app helps measure the exact light levels in different areas of your home.
Improve humidity with trays or misting.
Many houseplants struggle in dry indoor air. To raise humidity during recovery:
Create a pebble tray by filling a shallow dish with pebbles and water, keeping the pot above the water level. As water evaporates, it boosts moisture around your plant.
Grouping plants also works since they create humidity pockets through transpiration. For quick relief, misting leaves works temporarily, especially for tropical plants.
These environmental fixes set the stage for your plant’s comeback. Most plant problems disappear once you get these basics right.
Step 4: Support Recovery
Image Source: Peachi Plants
After addressing the immediate issues, your plant requires ongoing care to recover fully. These aftercare steps make all the difference between a true comeback and just a temporary improvement.
Use light fertiliser only if the roots are healthy and strong.
Fertiliser isn’t a miracle food for sick plants. Add nutrients only when you see new green growth appearing, indicating that the roots can utilise them. Adding fertiliser too soon damages already stressed plants.
For plants showing signs of recovery, use fertiliser at half-strength or less. Kelp solution works great because it gives gentle trace minerals that reduce stress without overwhelming the plant. If you have just repotted, skip fertilising completely for 2-3 months, as the fresh soil already contains sufficient nutrients.
Report with fresh soil if needed
Repotting can save or kill a struggling plant, so think carefully before doing it. Your plant needs repotting if its roots grow through the drainage holes, growth slows significantly, or the soil pulls away from the pot edges.
Spring is the best time for reporting, as plants are naturally ready to grow. When repotting:
- Add fresh potting mix to the new container
- Gently loosen tight root balls
- Cut away any dead or unhealthy roots
- Replace old soil without disturbing healthy roots
Track progress weekly and adjust care
Watching recovery closely helps save dying plants. Keep a simple plant journal, noting:
- New growth measurements
- Soil moisture levels
- Leaf colour and texture changes
- How the plant responds to its light conditions
No matter how damaged your plant was, patience matters most. Recovery takes time. Look for positive signs like:
- New shoots or leaves
- Return to bright green colour
- Stable soil moisture between waterings
- Firm, healthy texture in existing leaves
Since recovery requires ongoing attention, adjust your care based on weekly observations rather than adhering to a strict schedule.
Conclusion
Saving a dying plant takes patience and a step-by-step approach. This guide shows you exactly how to identify problems, remove damaged parts, adjust growing conditions, and support recovery. Plants are resilient—they bounce back when given the right care.
Plant rescue doesn’t happen overnight. Your plant may take several weeks or even months to recover fully. However, seeing fresh green growth appear after your rescue work makes it all worthwhile.
Next time your plant starts looking sad, you’ll know exactly what to do with this four-step process. Better yet, check your plants regularly to catch problems early. Understanding what your plant needs is the key to keeping it alive.
Plants talk to you through their leaves, stems, and roots. Learning to read these signals helps you become a better plant parent. Don’t worry about past plant failures – each plant you save teaches you something new. A green thumb isn’t something you’re born with – it’s a skill you build through practice and patience.

