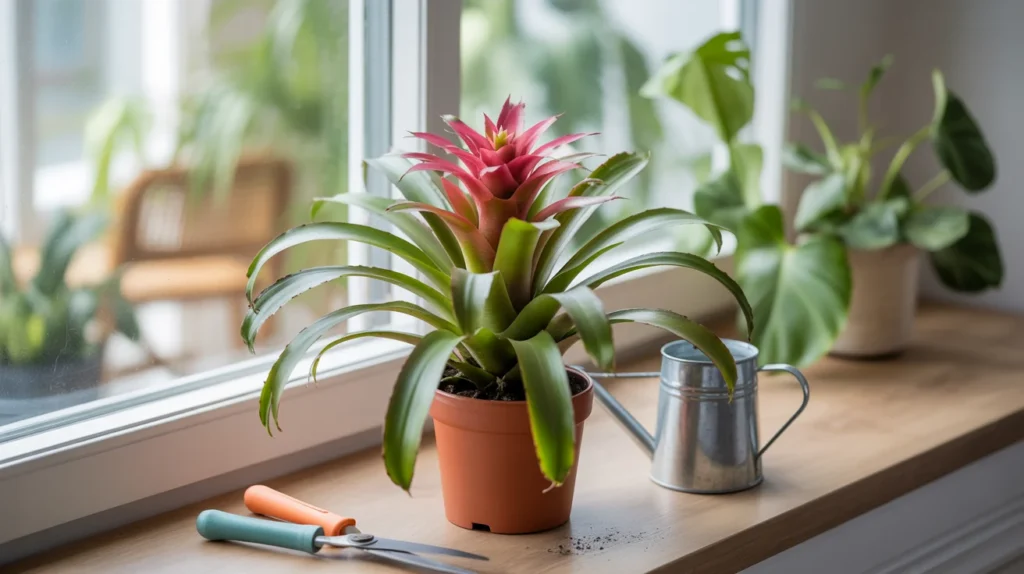
Bromeliad care gives you access to one of the most diverse plant families, with over 2,500 tropical species. With proper care, you’ll see Bromeliad thriving indoors easily.
Don’t let their exotic looks fool you – bromeliads are surprisingly easy to care for indoors. They adapt well to normal home temperatures between 60°F and 85°F, making them perfect houseplants. Many bromeliads grow as epiphytes, meaning they don’t need natural soil.
Their leaf rosette creates a natural “tank” that collects water and can host tiny ecosystems in the wild. Bromeliads stand out as low-maintenance plants with an impressive variety. Even if you’re still learning the ropes of bromeliad care, these plants are forgiving and will often bounce back from most mistakes.
They handle drought well, typically needing water every one to two weeks during warm seasons. Pet owners appreciate that bromeliads are safe for homes with animals. This guide covers everything you need for indoor bromeliad success – from placement to the surprisingly simple propagation techniques that can help you grow your bromeliad family year after year.
Choosing the Right Spot Indoors
Image Source: Foliage Factory
Picking the perfect spot makes all the difference for your bromeliad’s health. These tropical plants have specific light needs that simplify indoor care once you understand them.
Understanding light needs for bromeliads
Bromeliad light requirements follow a simple rule: “soft leaf – soft light, hard leaf – hard light.” Soft, flexible leaves without spines (like Guzmanias and Vrieseas) naturally grow in forest shade and need less light. Stiff, spiny-leaved varieties (like Aechmeas and Neoregelias) do better in brighter, filtered light.
The softer and greener your bromeliad, the less light it needs. These varieties usually want more water, too. Rigid, colourful bromeliads need more light and tend to be more succulent-like.
Best window directions for placement
For best results, place your bromeliads near east or west-facing windows. This gives them balanced light without the harsh direct sun that damages leaves. South-facing windows work too if you hang sheer curtains to filter the intense light.
Bathrooms and kitchens often work great for bromeliads thanks to their higher humidity. If your bathroom lacks windows, ensure your plant gets enough light from fluorescent fixtures or a grow light.
Signs your plant needs more or less light
Your bromeliad will tell you when light conditions aren’t right:
- Too much light: Yellowing leaves, bleached colours, brown scorched spots, or fading show excessive light.
- Too little light: Dark green colouration (losing vibrant colours), stretched “leggy” growth, no flowering, and reduced variegation mean insufficient light.
If you spot these signs, move your plant a few feet closer to or further from a window. This minor adjustment makes a big difference in successful bromeliad care.
During winter’s darker days, you should move your bromeliad to a brighter location or add extra lighting. LED grow lights placed 12-24 inches above the plant for 12-14 hours daily provide the right spectrum when natural light isn’t enough.
Watering and Humidity Essentials
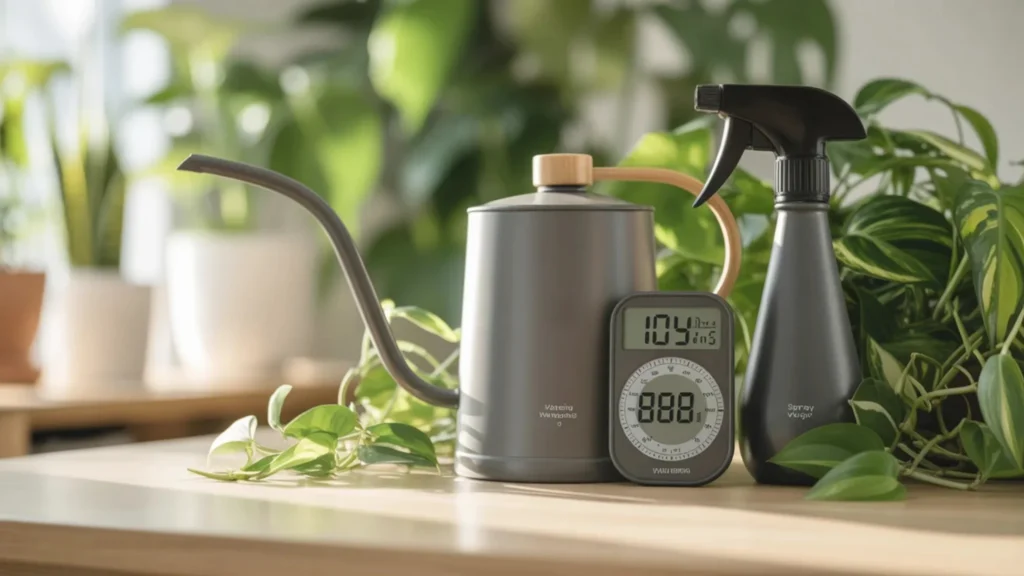
Getting your watering routine right makes all the difference in bromeliad care. These plants have unique water needs that are easy to manage once you understand them.
How often should you water your bromeliad?
Bromeliads handle drought better than most houseplants. Water the potting medium thoroughly every 1-2 weeks in warm months, cutting back to every 2-3 weeks during cooler seasons. When unsure, let the soil dry out. The top inch of soil tells you everything – if it’s dry, it’s watering time.
Using the central cup vs. soil watering
Most bromeliads grow with a natural “tank” or “cup” formed by their leaf rosette. This is their built-in water collection system. For tank-type bromeliads:
- Fill the central cup 1/4 to 1/2 complete using filtered or rainwater
- Flush the cup every 1-2 months to stop bacterial growth
- Keep the cup nearly empty during cool months
Soak the medium thoroughly for soil watering, ensuring all excess water drains away. Don’t water again until the top of the medium feels dry to the touch.
Humidity tips for dry indoor air
Bromeliads need 50-75% humidity since they’re tropical plants. If your home has dry air, especially in winter, try these fixes:
- Mist your bromeliad 1-2 times weekly
- Create a humidity tray with pebbles and water
- Group plants together to create a microclimate
- Place in naturally humid areas like bathrooms or kitchens
- Consider using a humidifier nearby
Common watering mistakes to avoid
Overwatering kills more indoor bromeliads than anything else. Never let your plant sit in water or soggy soil – this causes root rot. Avoid metal containers for watering since bromeliads don’t like metal. Stagnant water in the cup breeds bacteria, so flush it regularly. Hard tap water leads to brown leaf tips and poor growth, so use filtered or rainwater whenever possible.
Soil, Potting, and Fertilizer Tips
Getting the foundation right makes all the difference in bromeliad care. These plants need specific soil, potting, and fertilizer approaches that set them apart from regular houseplants.
Best soil mix for indoor bromeliads
Bromeliads need excellent drainage because they’re mainly epiphytes that grow on trees in nature, not in soil. The best potting mix options include:
- 1/2 potting soil mixed with 1/2 orchid bark
- Equal parts peat moss, horticultural perlite, and fine fir bark
- 1/2 soil-less potting mix, 1/4 perlite, and 1/4 orchid bark
These loose mixes prevent root rot while giving enough support. Bromeliads have small root systems and don’t need dense soil. They prefer media that lets air reach their roots.
When and how to repot
Due to their small root systems, bromeliads rarely need repotting. Young plants do well with yearly repotting in spring, while mature plants can stay in the same pot until they bloom and produce pups.
Most full-sized bromeliads don’t need pots larger than 6 inches, as oversized pots can cause overwatering. The right pot size ensures proper drainage, healthy roots, and vibrant growth for bromeliads thriving indoors.
Set your bromeliad with the leaf base at soil level to avoid crown rot. If the plant seems wobbly, use wooden stakes temporarily until roots establish. This keeps developing roots safe from movement damage.
Do bromeliads need fertilizer?
Bromeliads survive for years without fertilizer, but occasional feeding boosts their growth. These light feeders mainly benefit from summer feeding during active growth.
When fertilizing, always use less than you think. Apply about 1/4 of what the fertilizer package recommends. For liquid types, use 1/4 strength; sprinkle lightly around the plant base for slow-release options.
Never put fertilizer directly in the central cup, as it burns the foliage. High-nitrogen fertilizers reduce flowering and make leaves too long, diminishing the vibrant colors that make bromeliads so attractive.
Propagation, Pests, and Pet Safety
The hang of bromeliad propagation and pest control gives you significant advantages, especially when you understand their unique life cycle.
How to propagate using pups
When a bromeliad flowers, the mother plant dies over the next 1-2 years. The good news is that she produces baby plants called “pups” at her base. Keep these pups attached until they grow to about 1/3 to 1/2 the size of the mother plant, as they get nutrients from her declining tissues.
To collect pups:
- Cut the pup as close to the mother as possible using a sharp, clean knife
- Don’t stress if there aren’t roots yet – that’s perfectly normal
- Put the pup in a small 3-4 inch pot with a mix that’s 1/2 potting soil and 1/2 orchid bark
These first-generation pups usually flower after 1–3 years, making this an easy way to keep your Bromeliad Thriving Indoors collection going forever.
Dealing with mealybugs and scale
These pests can cause problems for indoor bromeliads. Mealybugs look like white cotton patches and often leave sticky honeydew, creating black mold. Scale insects show up as small bumps on the plant.
For effective pest control:
- Check new plants thoroughly before bringing them home
- Remove visible pests using cotton swabs dipped in alcohol
- Use horticultural oils that suffocate both pests on contact
- Try biological solutions like green lacewings for bigger infestations
Your best defense is catching these pests early through regular plant inspections.
Are bromeliads safe for pets?
Pet owners can relax the ASPCA officially lists bromeliads as non-toxic to cats and dogs, making them great choices for homes with pets.
While bromeliads won’t poison your pets, overeating might cause mild stomach upset. Cats sometimes like chewing on the grass-like leaves of certain bromeliad types. To be extra safe, place your plants where pets can’t reach them or use pet-friendly deterrents like coffee grounds around the base.
Bromeliads rank among the most rewarding houseplants you can grow. This guide shows you how these tropical plants thrive with minimal care despite their exotic looks. Understanding their needs – from light requirements based on leaf texture to specific watering habits – makes success with bromeliads straightforward.
These versatile plants work perfectly in any indoor garden. They handle normal home temperatures between 60°F and 85°F without complaint. Their drought tolerance means you won’t worry during short trips away. Pet owners appreciate that bromeliads won’t harm curious cats and dogs.
The best part about bromeliads? After flowering, the mother plant produces pups that continue her legacy. This natural process gives you free plants for years to come. While the original plant eventually fades, her offspring carry on, creating an endless supply of tropical beauty for your home.
Bromeliad care becomes simple once you master the basics. For Bromeliad thriving indoors, focus on a well-draining soil mix, occasional watering, bright indirect light, and minimal fertilizer.

