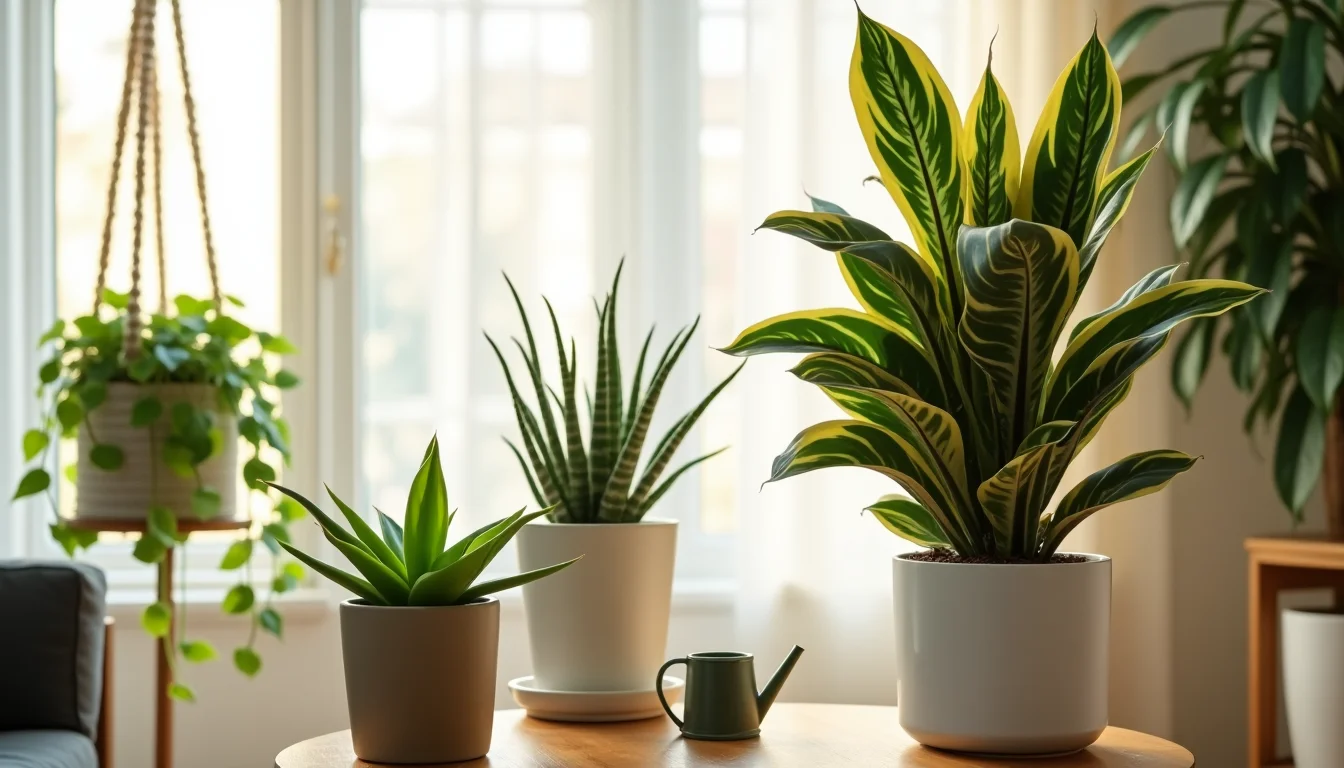
Aloe plants are beloved for their striking appearance, low maintenance, and powerful medicinal properties. Yet, like all container plants, they outgrow their pots and need a fresh start. How do you repot aloe plants so they stay healthy and continue to flourish? This article covers everything from when to repot to how to choose the right soil, pot, and aftercare practices.
By following this guide, you’ll ensure your aloe stays vibrant and continues to enhance your space.
Why Repotting Aloe Plants Matters
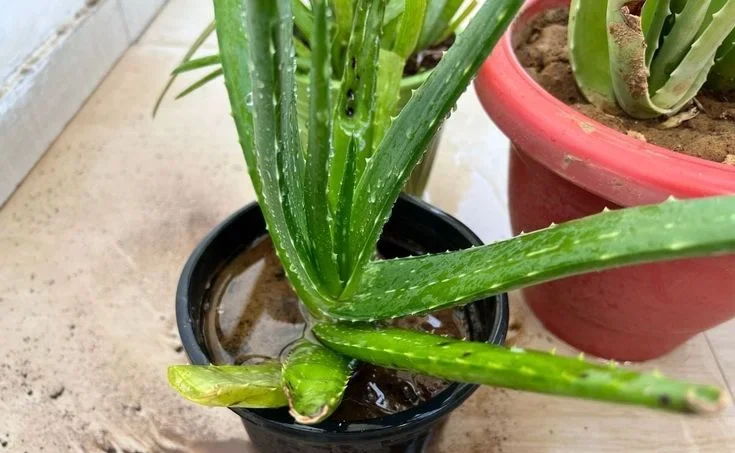
As aloe grows, its roots spread and eventually outgrow the pot. When this happens, the plant may show signs of stress such as slow growth, yellowing leaves, or poor water absorption. Repotting:
-
Provides more room for root growth.
-
Refreshes the nutrient content in the soil.
-
Reduces the risk of root rot.
Furthermore, repotting allows you to inspect the root system and remove any damaged or diseased roots.
When Should You Repot Aloe Plants?
Timing is crucial. Aloe plants typically need repotting every 2–3 years. However, you should repot sooner if you notice:
-
Roots protruding from the drainage holes.
-
Soil drying out too quickly after watering.
-
Multiple offsets (baby aloes) crowding the pot.
Spring or early summer is the best time because the plant is actively growing. This allows it to recover quickly from transplant shock.
Essential Tools and Supplies
Before you begin, gather the right materials. Having everything ready makes the process smoother. You will need:
-
A slightly larger pot with drainage holes.
-
Cactus or succulent soil mix.
-
Gardening gloves.
-
A clean, sharp knife or scissors (for removing damaged roots).
-
A small trowel.
Pro Tip: Choose a terracotta or clay pot because it allows excess moisture to evaporate, reducing the risk of root rot.
Step-by-Step Guide to Repotting Aloe Plants
1. Prepare the New Pot and Soil
Start by filling the bottom of the new pot with a thin layer of succulent soil. This ensures the plant’s roots will have a good base. Using a high-quality, well-draining soil is essential.
Transitioning to fresh soil with better drainage prevents root rot and promotes healthier growth.
2. Remove the Aloe Plant from Its Current Pot
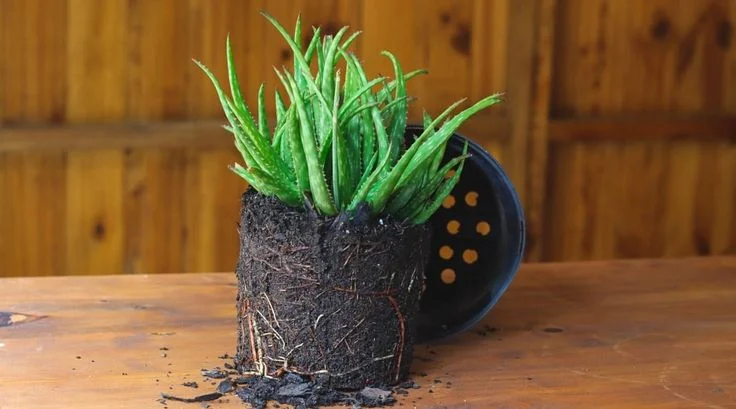
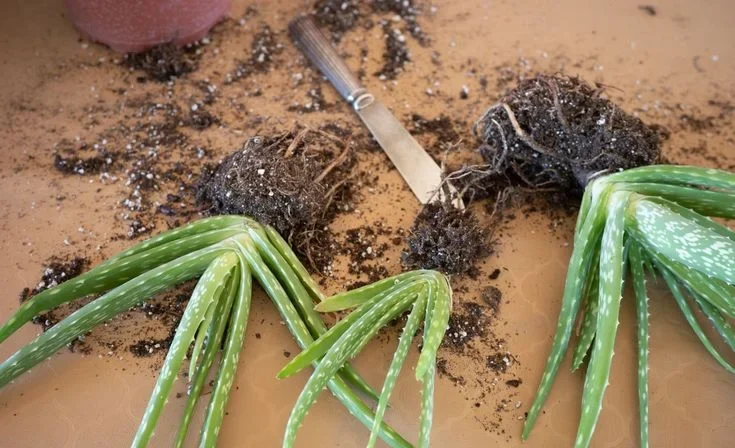
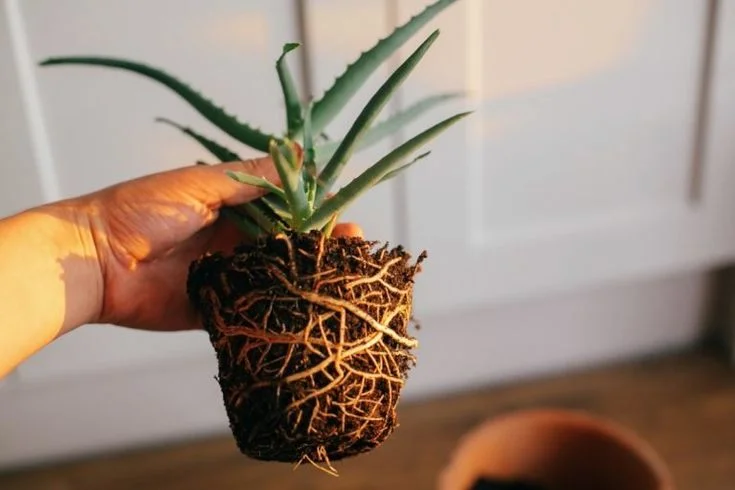
Gently tip the pot on its side and carefully slide out the aloe. If it resists, tap the sides of the pot or use a trowel to loosen the soil. Holding the plant at its base ensures you don’t damage the leaves.
3. Inspect and Trim the Roots
Examine the roots for any signs of rot or disease. Healthy roots are firm and light-colored. Trim away any dark, mushy roots with sterilized scissors.
This step is crucial because removing damaged roots allows the plant to focus its energy on healthy growth.
4. Separate Offsets (Pups)
If your aloe has produced pups (baby plants), now is the perfect time to separate them. Gently pull them apart from the mother plant, ensuring each pup has some roots attached.
Doing so not only gives you more plants but also prevents overcrowding in the new pot.
5. Position the Plant in the New Pot
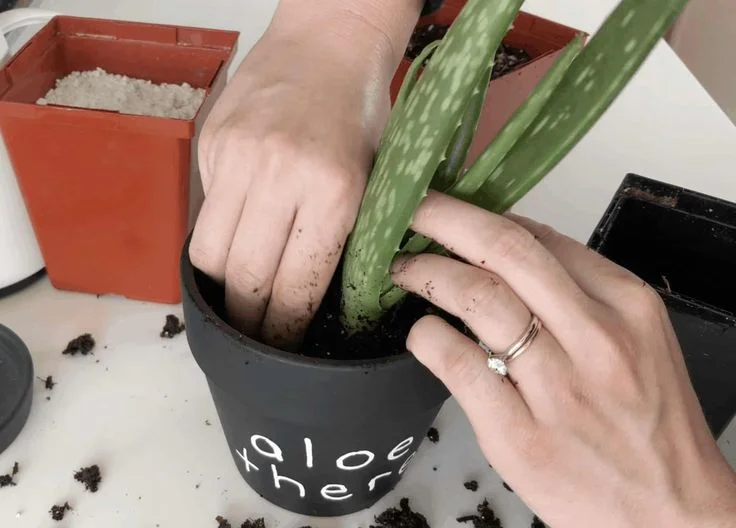
First, place the aloe plant in the center of the pot. Next, hold it upright while filling in around the roots with fresh soil. Meanwhile, ensure the lower leaves remain just above the soil line to prevent rot. Then, gently tap the pot to help the soil settle evenly.
Afterward, check that the plant is stable. Additionally, avoid compacting the soil too much and make sure there are no air pockets. Furthermore, water lightly if needed, and remove any debris around the base. For more detailed guidance on keeping your aloe healthy and thriving, you can follow this complete guide on how to care for an aloe vera plant.
Finally, position the pot in a suitable location with indirect sunlight. Consequently, this reduces stress on the plant. Ultimately, these steps encourage healthy growth and prevent root problems.
6. Allow the Plant to Settle Before Watering
After repotting, wait 2–3 days before watering. This resting period allows any trimmed roots to heal and reduces the chance of rot.
When you do water, give it a light drink and ensure excess water drains out completely.
Aftercare Tips for a Thriving Aloe
Repotting doesn’t end when you place the plant in new soil. Proper aftercare helps your aloe thrive:
-
Light: Place the plant in bright, indirect sunlight.
-
Watering: Water sparingly, only when the top 2 inches of soil are dry.
-
Fertilizing: Use a diluted succulent fertilizer once in spring and again in summer.
Gradually reintroducing sunlight and water helps the plant adjust seamlessly to its new environment.
Common Mistakes to Avoid
Even with the best intentions, mistakes happen. Here’s what to watch out for:
-
Using a pot without drainage holes.
-
Overwatering immediately after repotting.
-
Burying the lower leaves under the soil.
Avoiding these missteps will significantly increase your plant’s survival rate. For more detailed succulent care guidelines, check out this reputable source from the University of Wisconsin–Madison’s Horticulture Division: Caring for Succulents and Cacti.
FAQs About Repotting Aloe Plants
1. How often should I repot my aloe plant?
Most aloe plants need repotting every 2–3 years, but you may need to repot sooner if the plant outgrows its pot or shows stress signs.
2. Can I use regular potting soil for aloe plants?
It’s better to use a cactus or succulent mix. Regular potting soil retains too much moisture, which can cause root rot.
3. Should I water immediately after repotting?
No. Wait at least 2–3 days to let the roots heal before watering.
4. Do I need to fertilize after repotting?
Wait about a month before fertilizing to avoid stressing the plant. Use a diluted succulent fertilizer.
5. Can I repot aloe plants in winter?
While it’s possible, spring or early summer is best because the plant is actively growing.
Conclusion
Repotting aloe plants is a straightforward process when done correctly. First, by understanding when and how to repot, next selecting the right soil and pot, and then providing proper aftercare, you’ll ensure your aloe continues to thrive.
Additionally, preparing your workspace and tools beforehand helps prevent mistakes. Moreover, handling the plant gently reduces stress, while choosing a pot with proper drainage also safeguards against root rot.
Furthermore, allowing the soil to settle ensures stability, and giving your aloe time to adjust finally promotes healthy growth. For gardeners looking to expand their collection, learning how to propagate aloe vera plants can complement repotting and provide new healthy plants to enjoy (learn more here). In fact, following this professional, step-by-step approach will keep your aloe healthy, beautiful, and ready to provide its many benefits for years to come.

